Ingredients Method: About this recipe Oh the lovely leek! Truly one of my favourite vegetables this time of year, when the shadows are a little longer and there’s a bite in the air. Leeks are allium family members, related to onions and garlic, but a …
Ingredients: Plum and apple mixture: Crumble topping: Method: Preheat the oven to 180 degrees celsius. Place the apples, plums, cinnamon vanilla and 2 tablespoons of water into a pot – the water should be covering the base of the pan. Depending on how juicy the …
2 tablespoons each of flaxseeds, sesame seeds and chia seeds
1 teaspoon of sea salt
2 & a half tablespoons of olive oil
1 & a half cups of boiling water
Sea salt flakes
Method
Heat oven to 180 degrees celsius and line two 20 x 30cm baking trays with baking paper
In a medium bowl, mix together masa flour, seeds and the teaspoon of sea salt.
Add the olive oil and boiling water. Mix together until all dry ingredients are incorporated.
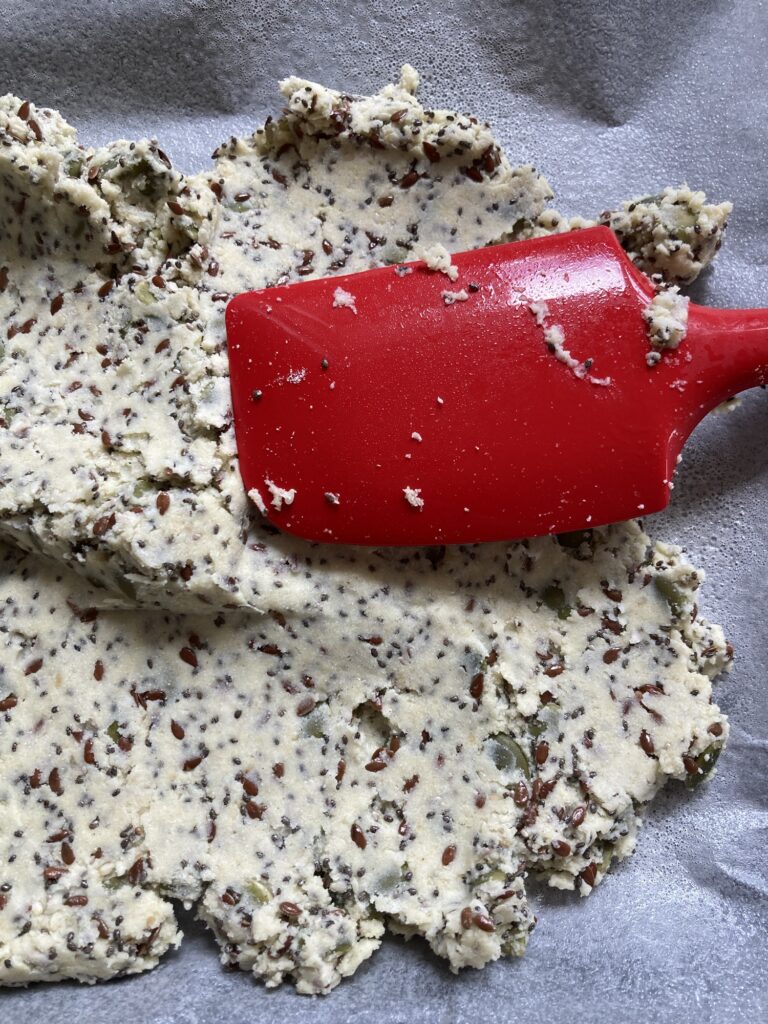
Turn out the mixture onto the baking trays. Using wet hands and/or a spatula, press out the mixture to be as thin as you can make it across the trays. Scatter a pinch of sea salt flakes over the top.
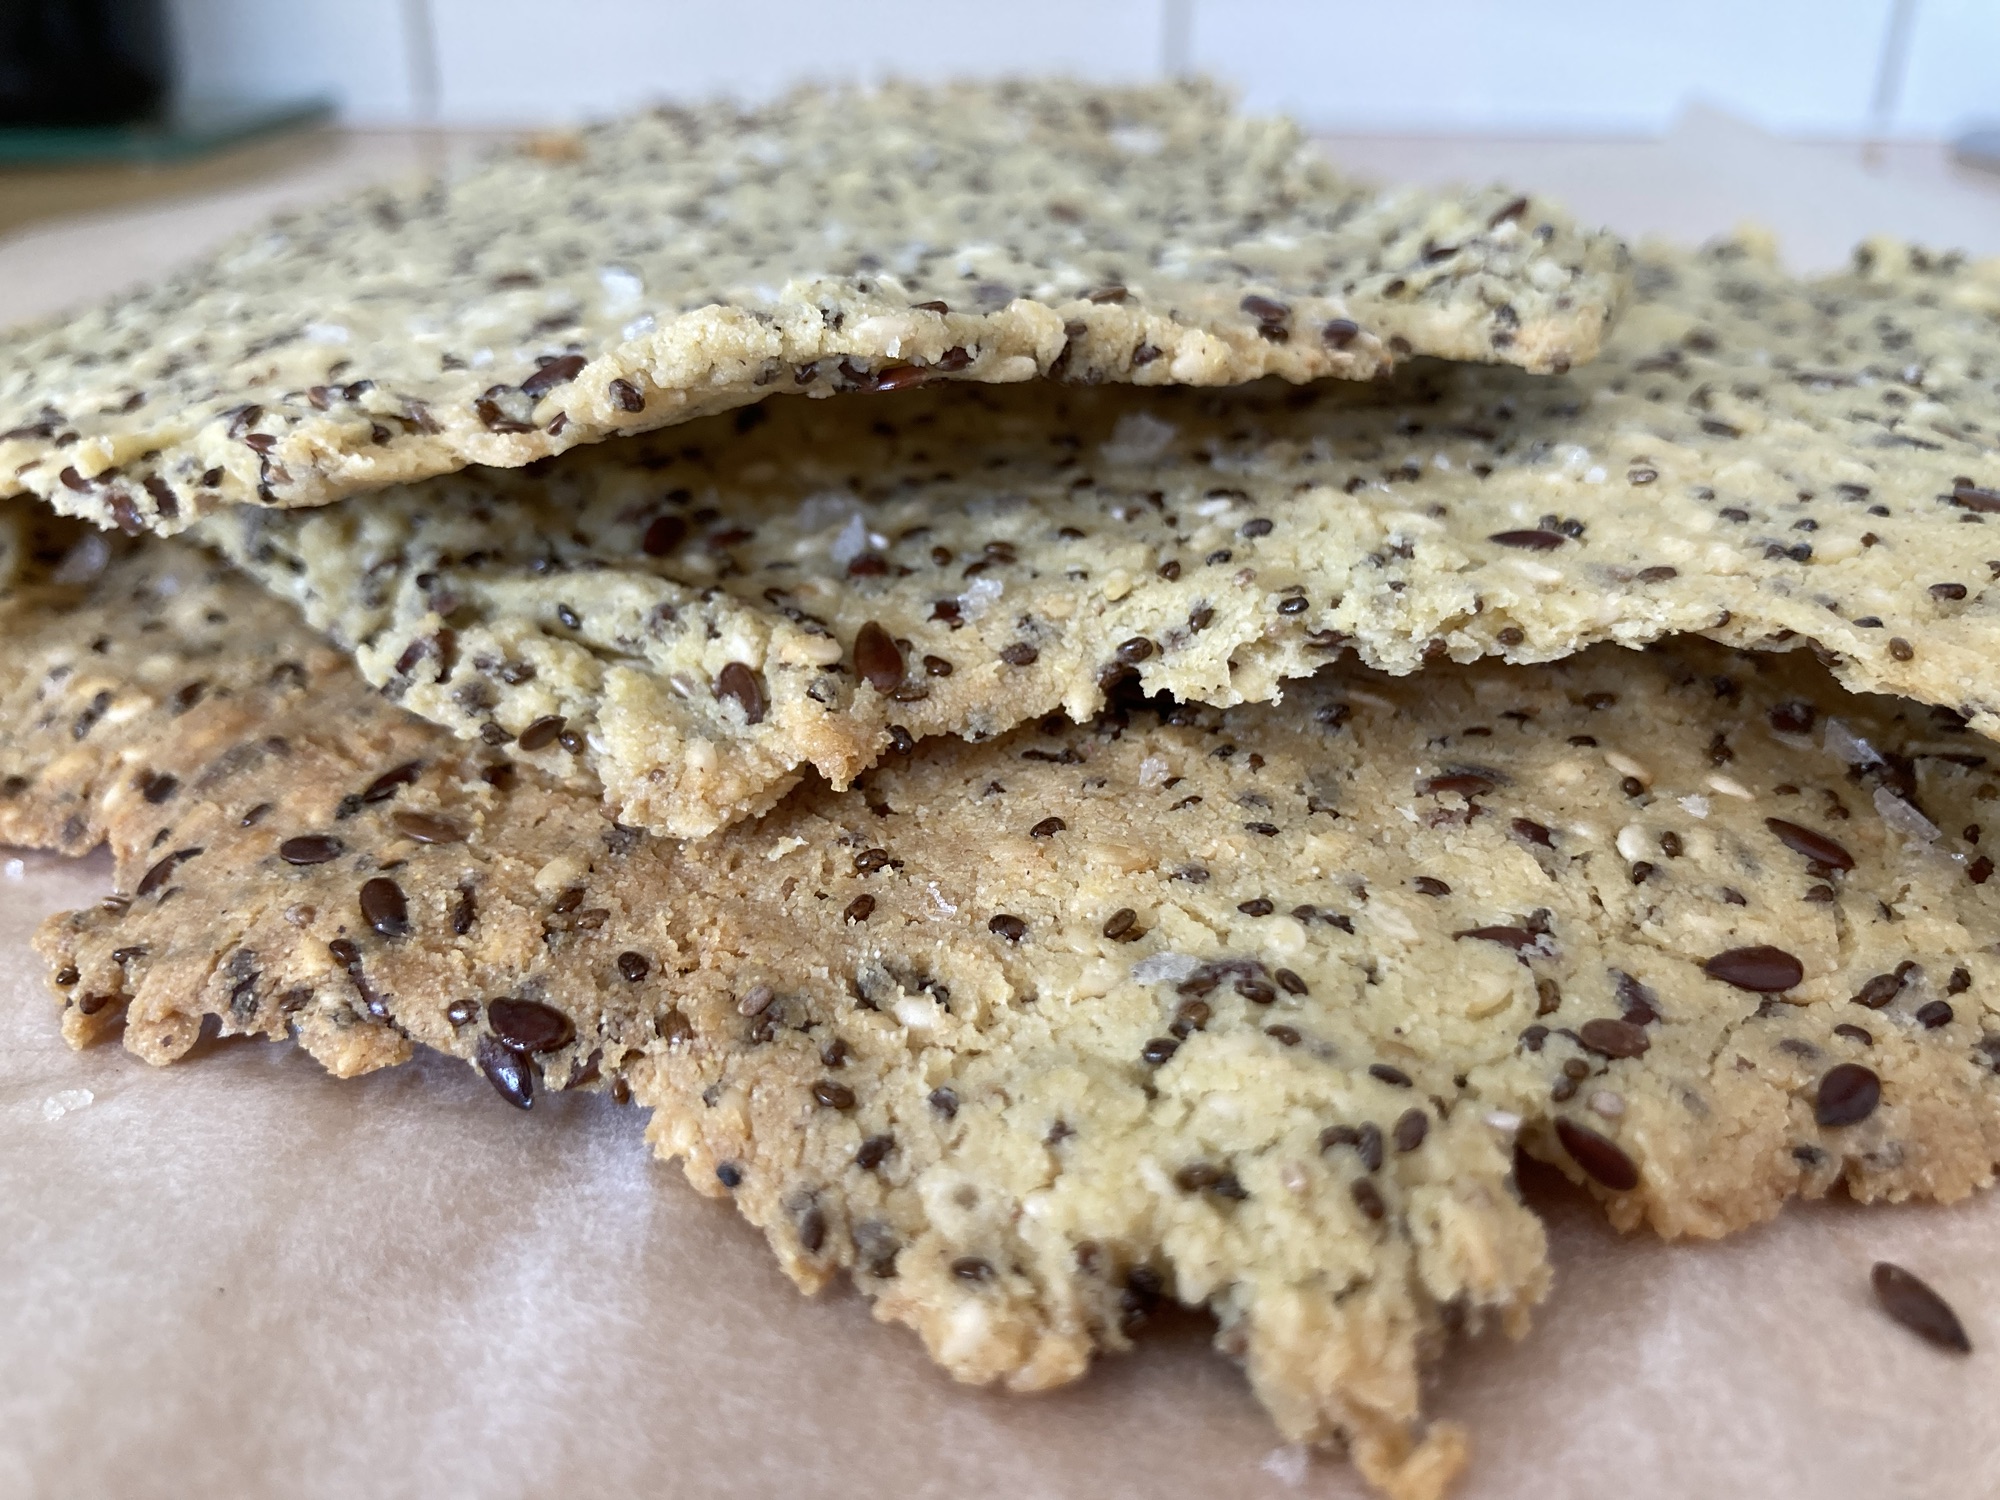
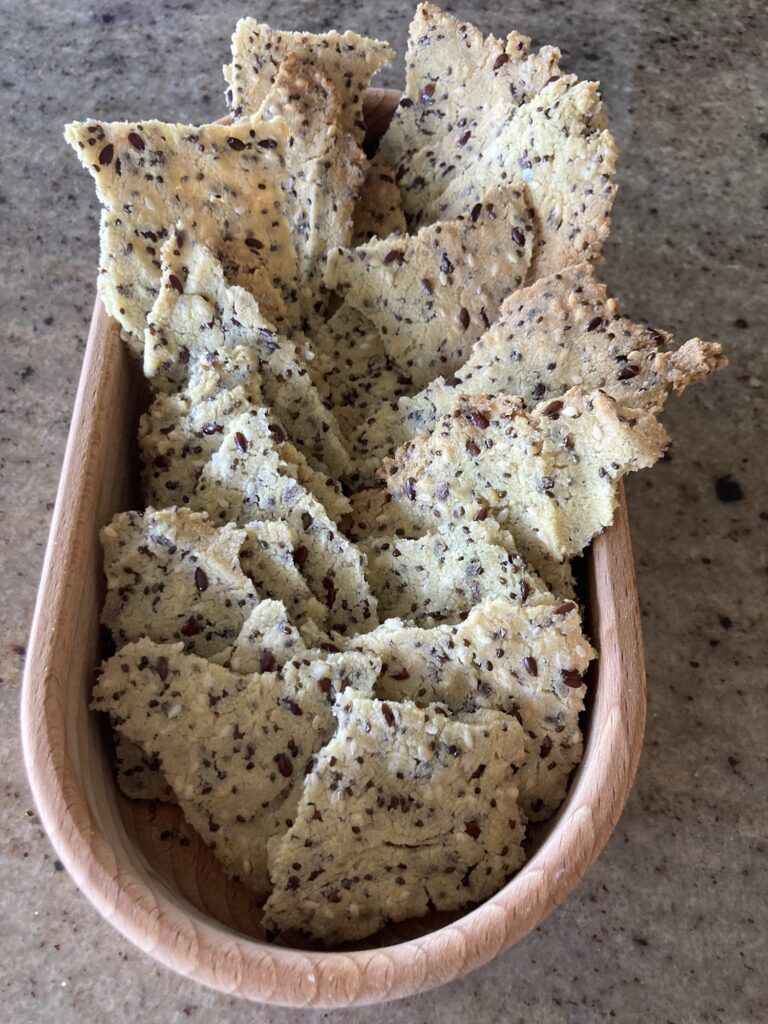
Bake in the oven for 35 minutes or until golden brown around the corners. Remove and allow to cool, then break into cracker-sized pieces. Store in an air tight container if not using straight away.
About this recipe
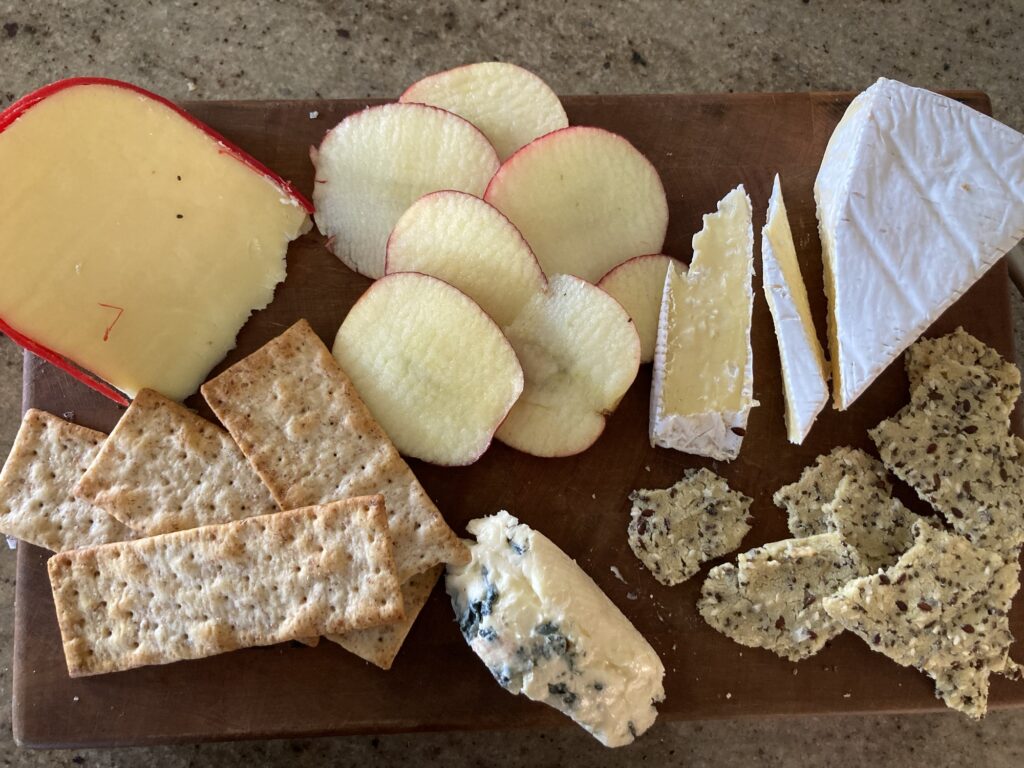
It took me some time to give home made crackers a go because I always worried they would be fiddly and difficult. I imagined rolling and kneading with bits of dough sticking to the rolling pin and myself becoming more flustered and sweary. No doubt you can make this variety of cracker and I bet it’s delicious, but if you don’t care too much about your crackers looking perfect then I say, give this recipe a try.
It’s very simple – only one bowl to clean at the end! – and the seed-flecked crackers look pretty on any cheese board or nibbles tray. They are made with masa harina, a corn-based flour that forms the basis of much Latin American cuisine, including tamales, tacos and tostadas. Masa marina is the secret weapon that ensures these crackers are a cinch to make – it becomes pliable on the addition of boiling water and provides a robust, grainy texture and no faffing about with rolling pins is required. It’s even gluten-free!
Ingredients Method Place all ingredients into a food processor or a blender. Process on high speed until it forms a wet, loose texture. If it is dry and clumpy, add a little more olive oil and process again. Taste and add a little more salt …
Ingredients Method About this recipe Comparing apples with oranges was the name of the game for my fruit bowl for a while there, thanks to Wonky Box. It got me thinking – oranges are lovely in baking, but I haven’t come across many recipes where …
Heat the oven to 180 degrees celsius. Grease and flour a 20-cm cake tin.
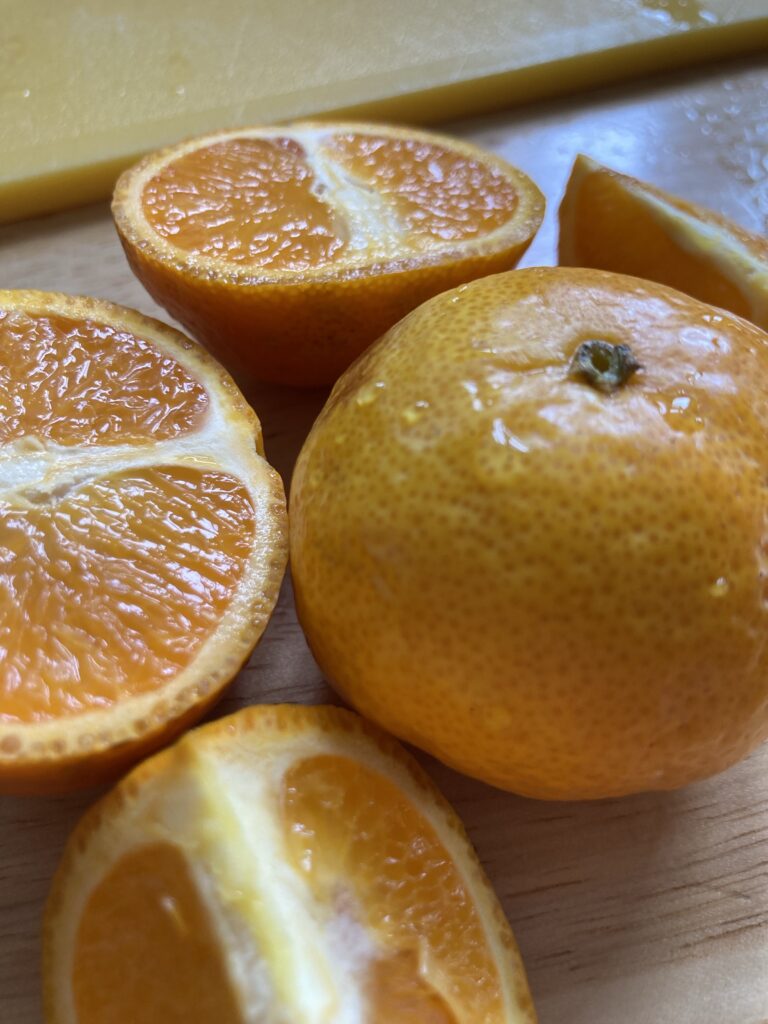
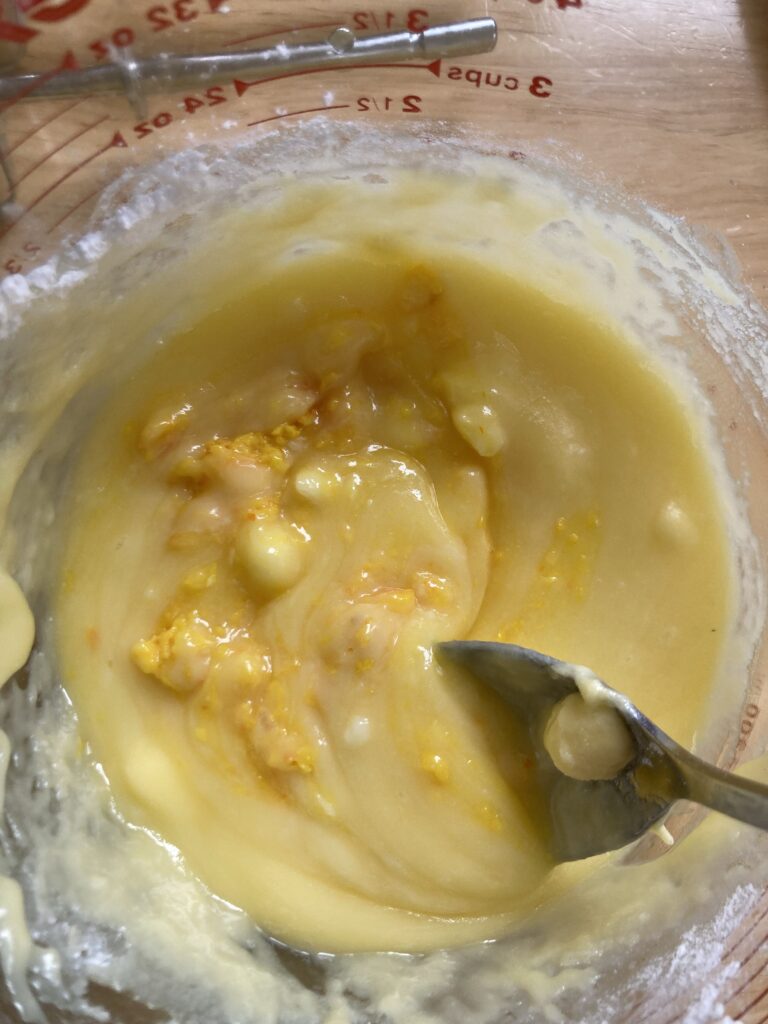
Blitz the mandarins, skin on, until they are quite pulp-y with some shreds of skin (using a food processor or chopper attachment of a stick blender set).
In a large bowl, cream the butter, sugar and cream fraiche together until light and fluffy.
Add the eggs one at a time, blending after each addition.
Stir the mandarin pulp and vanilla essence into the wet mixture (reserve a teaspoon of the pulp if you wish to use in icing).
Sift together the flour, baking powder and baking soda. Add gradually to the wet mixture and stir in until just combined.
Pour the batter into the prepared cake tin and bake for 45 minutes or until a skewer inserted into the middle is largely clean with a few crumbs.
Cool on a cake rack in tin for ten minutes before turning out.
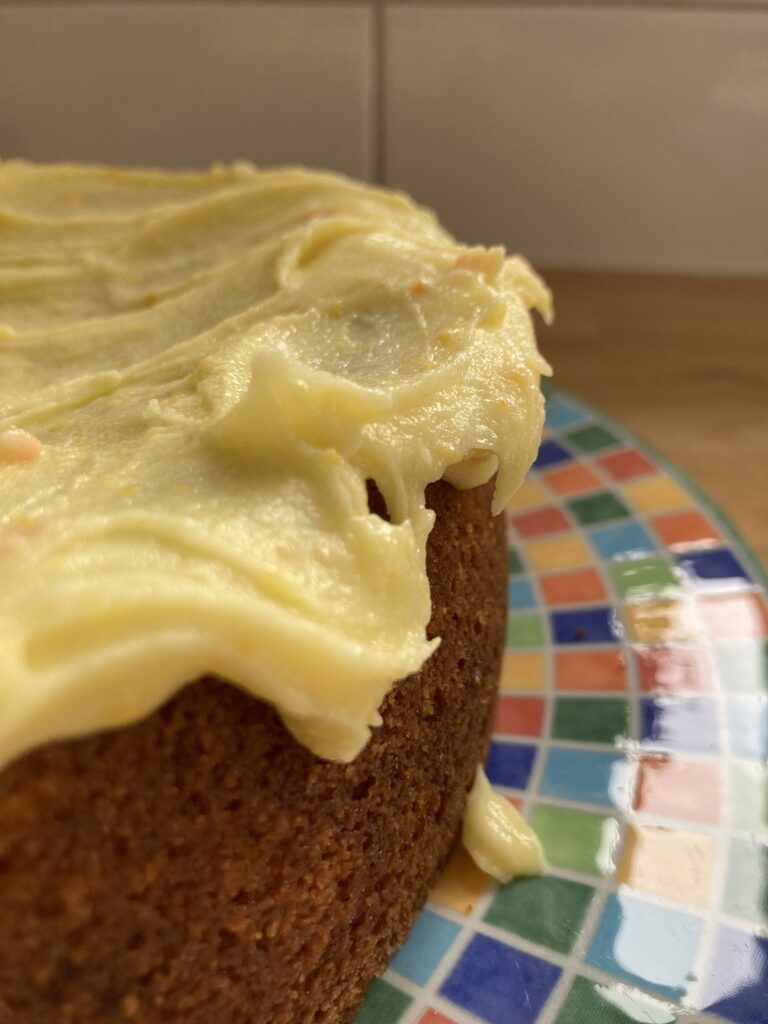
Add the reserved teaspoon of pulp to a butter and icing sugar topping and ice when cool, or dust with icing sugar.
I’ve recently subscribed to Wonky Box – what a delight! It gives me a nice little pick-me-up throughout my week – make no mistake, I am exactly the kind of geek who finds vegetable-related updates exciting. Tuesday’s announcement of which goodies to expect in that week’s delivery, Thursday’s emailed invitation to track my Wonky delivery and finally, courier updates on Friday on my Wonky Box’s location, creeping tantalizingly closer to my front door and finally landing there on Friday afternoon. I’m loving the challenge of finding ways to use the different fruit and vegetables; the flavour is always excellent even if the shape is a little less-than-perfect.
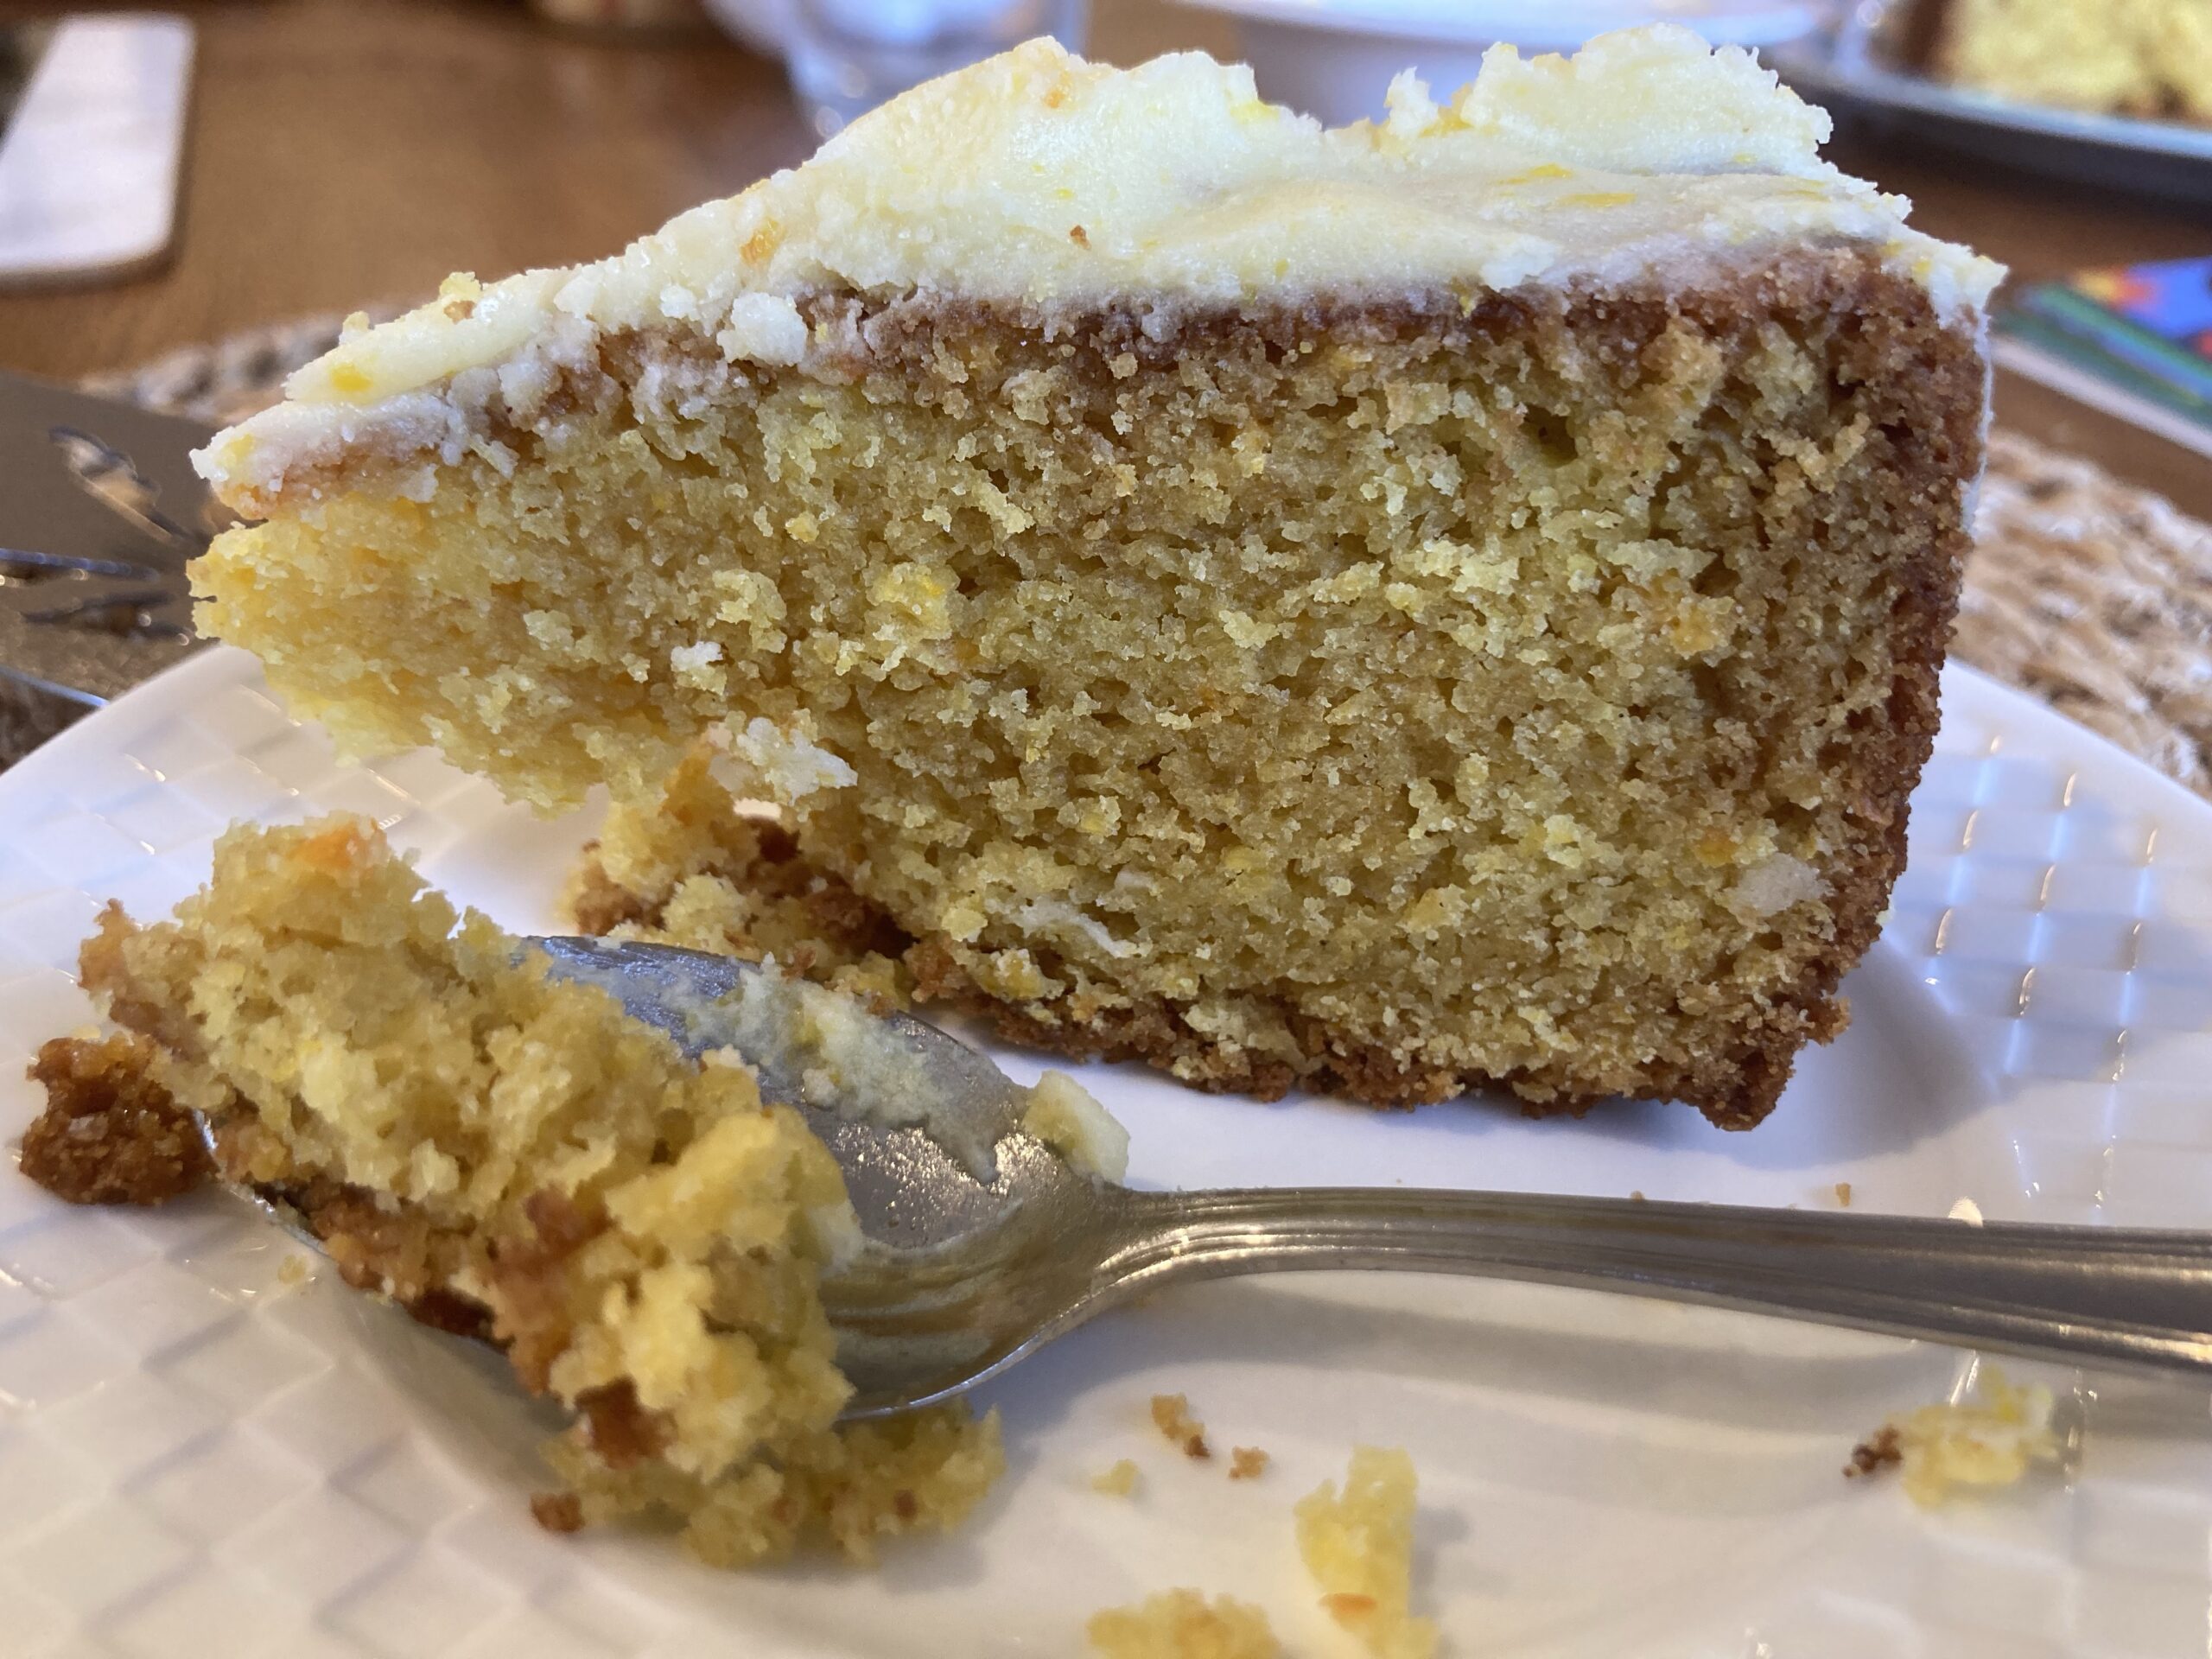
A few recent boxes have included mandarins and I wanted to do something a little bolder than just skinning and eating ’em – which I must clarify, I do consider perfectly acceptable. They’re also quite lovely peeled, sliced vertically and added to salad (if you’re lucky I will post my favourite mandarin salad another time). But for some recent Wonky mandarins, I was hankering to go a little further.
I always put my hand up for bringing dessert to get-togethers because I love making sweet treats but I prefer a bigger audience for them than just my husband and me. Although we could happily polish off a whole cake between just the two of us, it’s probably better that we don’t do this on the regular. Family dinner a few weeks back called for a cake and I had a small pile of Wonky mandarins practically begging for attention from my fruit bowl.
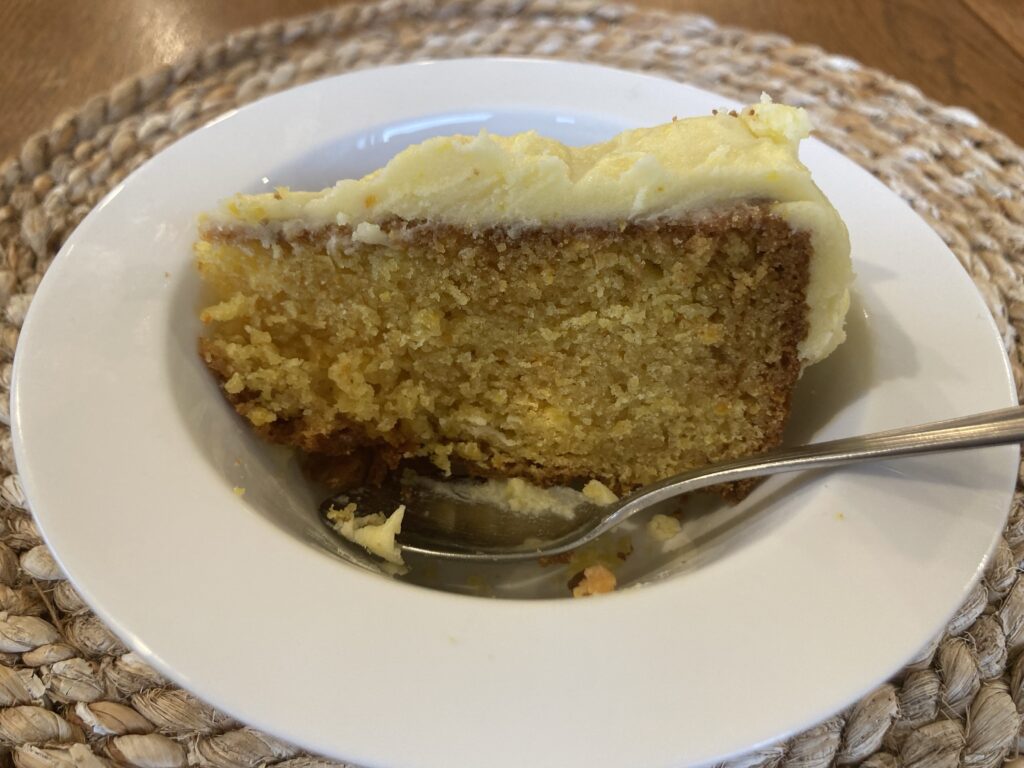
I’ve blitzed oranges and lemons for cakes and other puddings in the past, but doing so with mandarins was new to me – I’m happy to report it worked well. Pulverising the mandarins with the skin on delivers delightful little bursts of sharpness in the cake, which is otherwise sweet and slightly crumbly. I topped this with a butter and icing sugar-based icing to keep it sweet for the smaller members of my family, however a dusting of icing sugar would also go nicely.
I am just back from a truly fabulous trip away overseas, so please do forgive my gap in posting. While I recover from jet lag and make my way through a substantial stack of dirty socks and other clothing (why does one half of a …
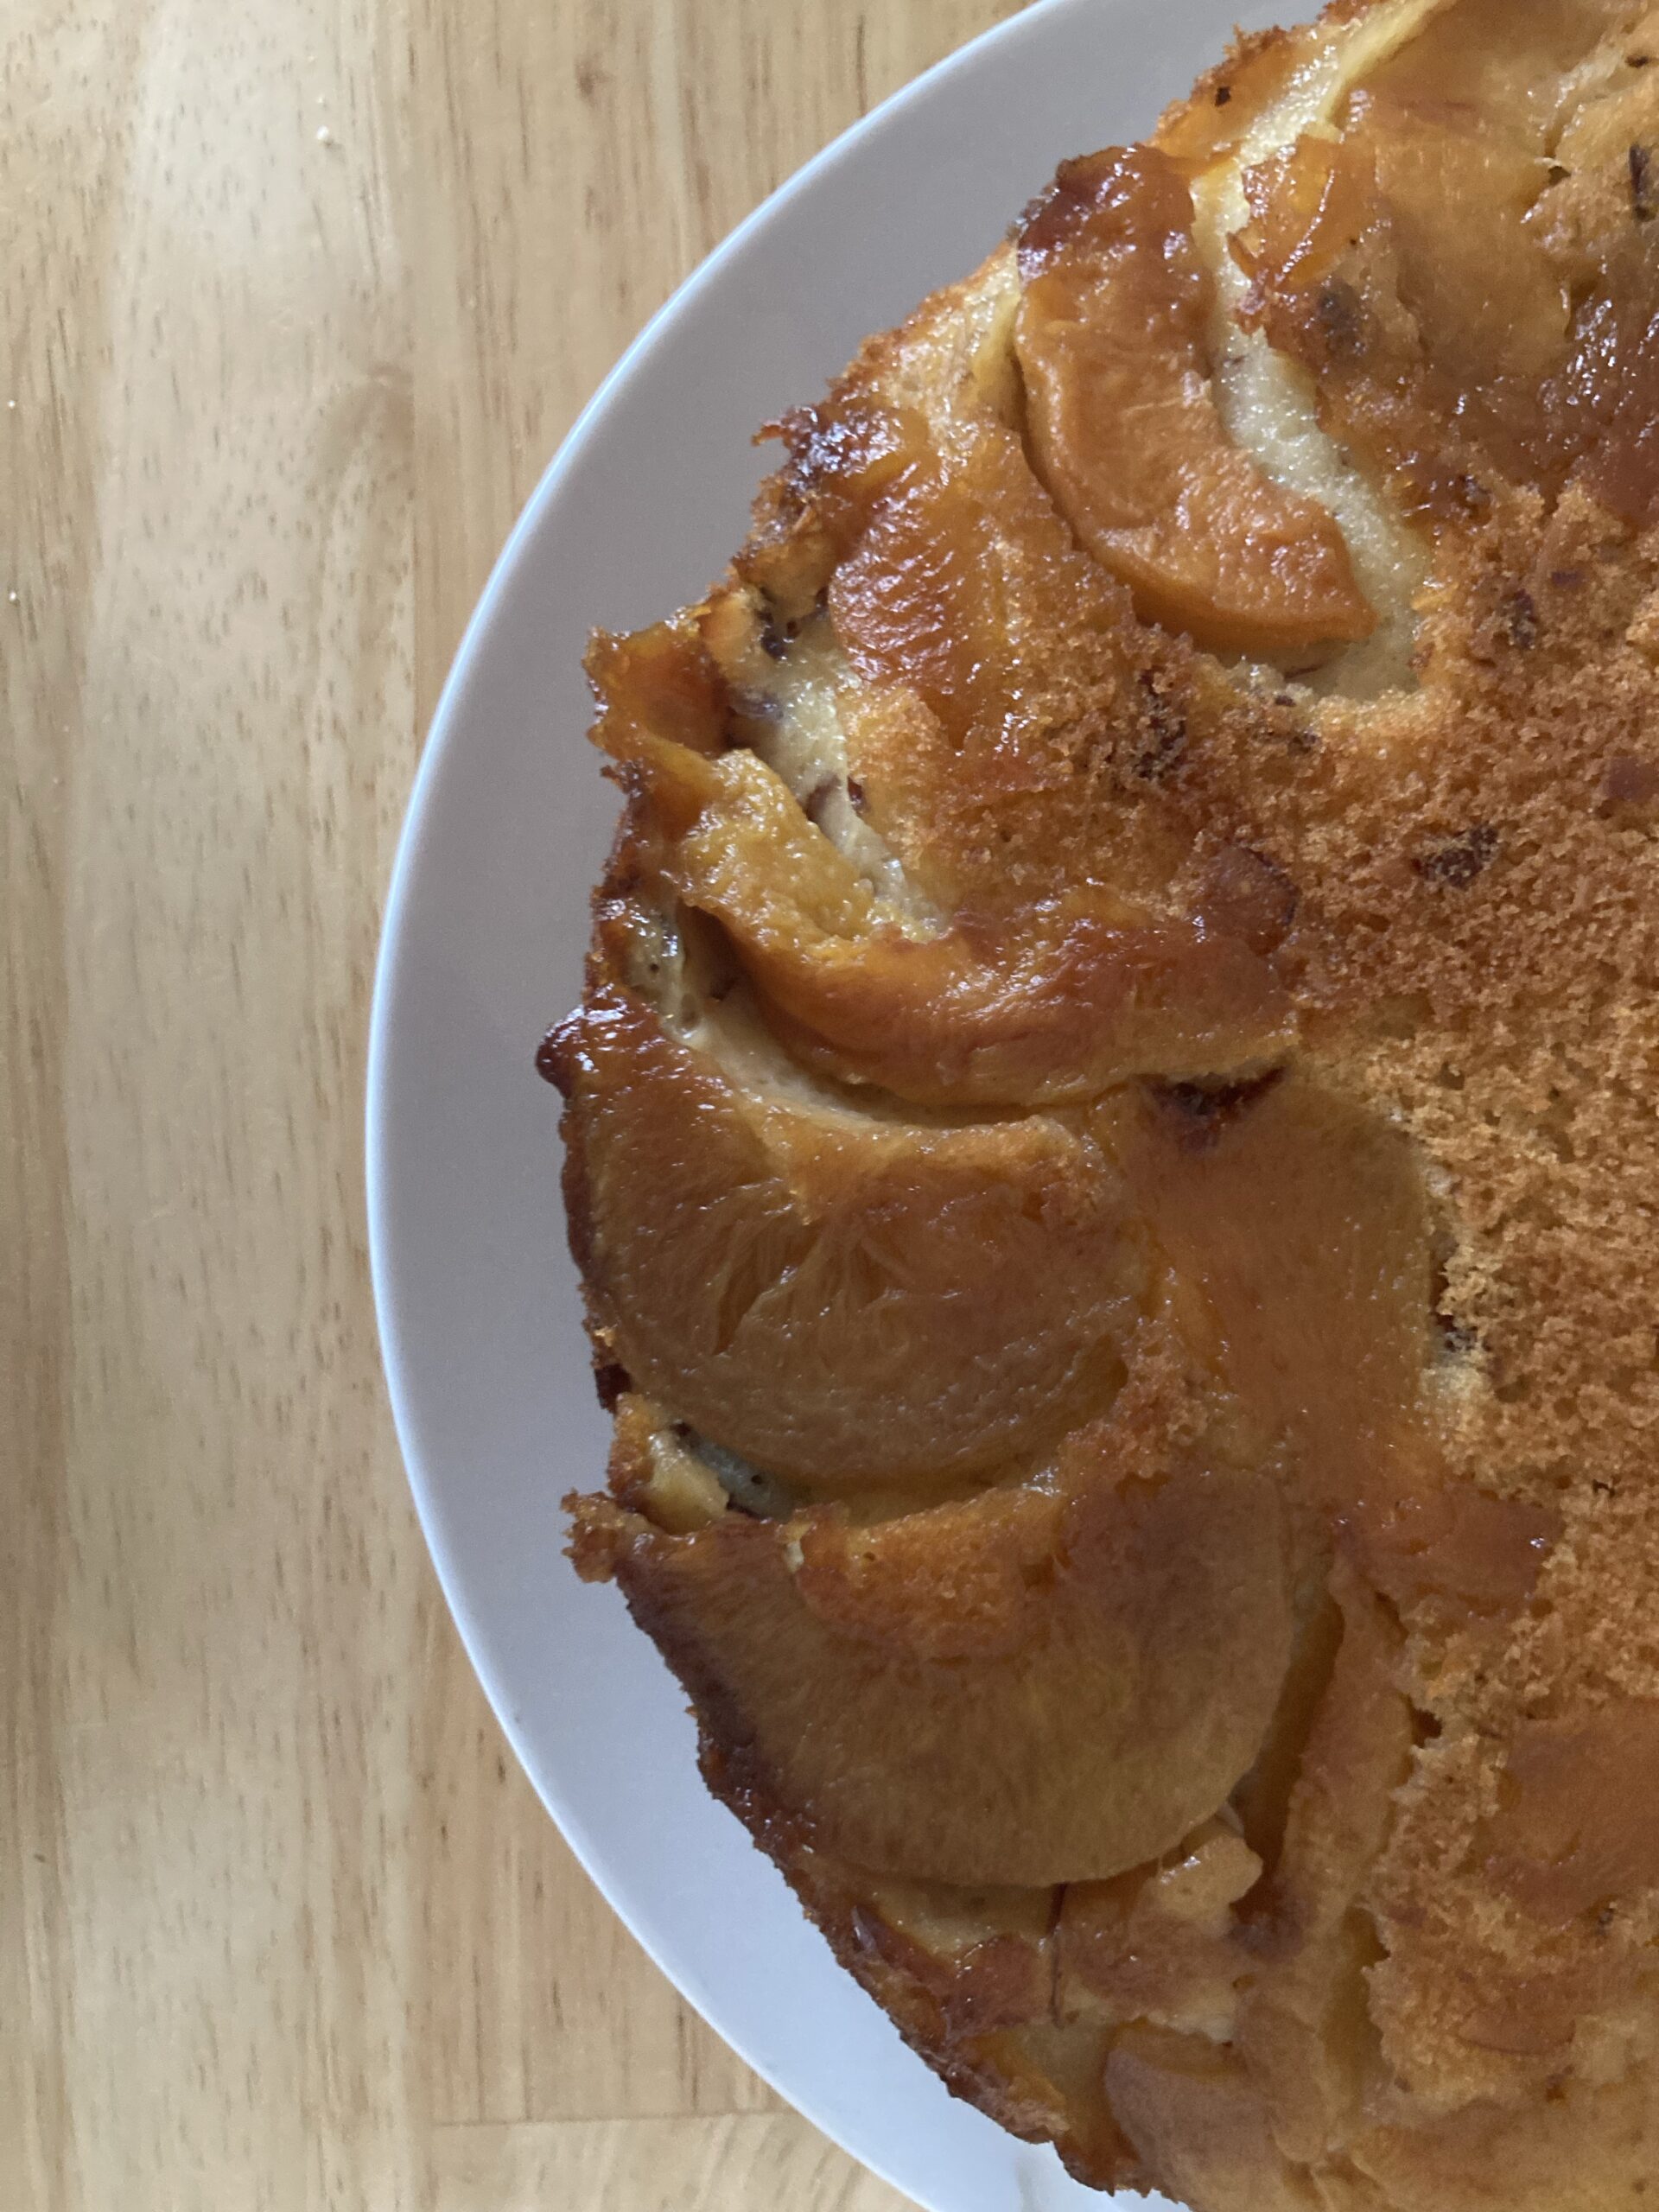
Ingredients: Method: About this recipe My peach and almond upside down cake is dense and hearty with a buttery topping of sweet sliced fruit. Inspired by the retro delight of a pineapple upside down cake, this version is comforting and appropriate for winter, with a …
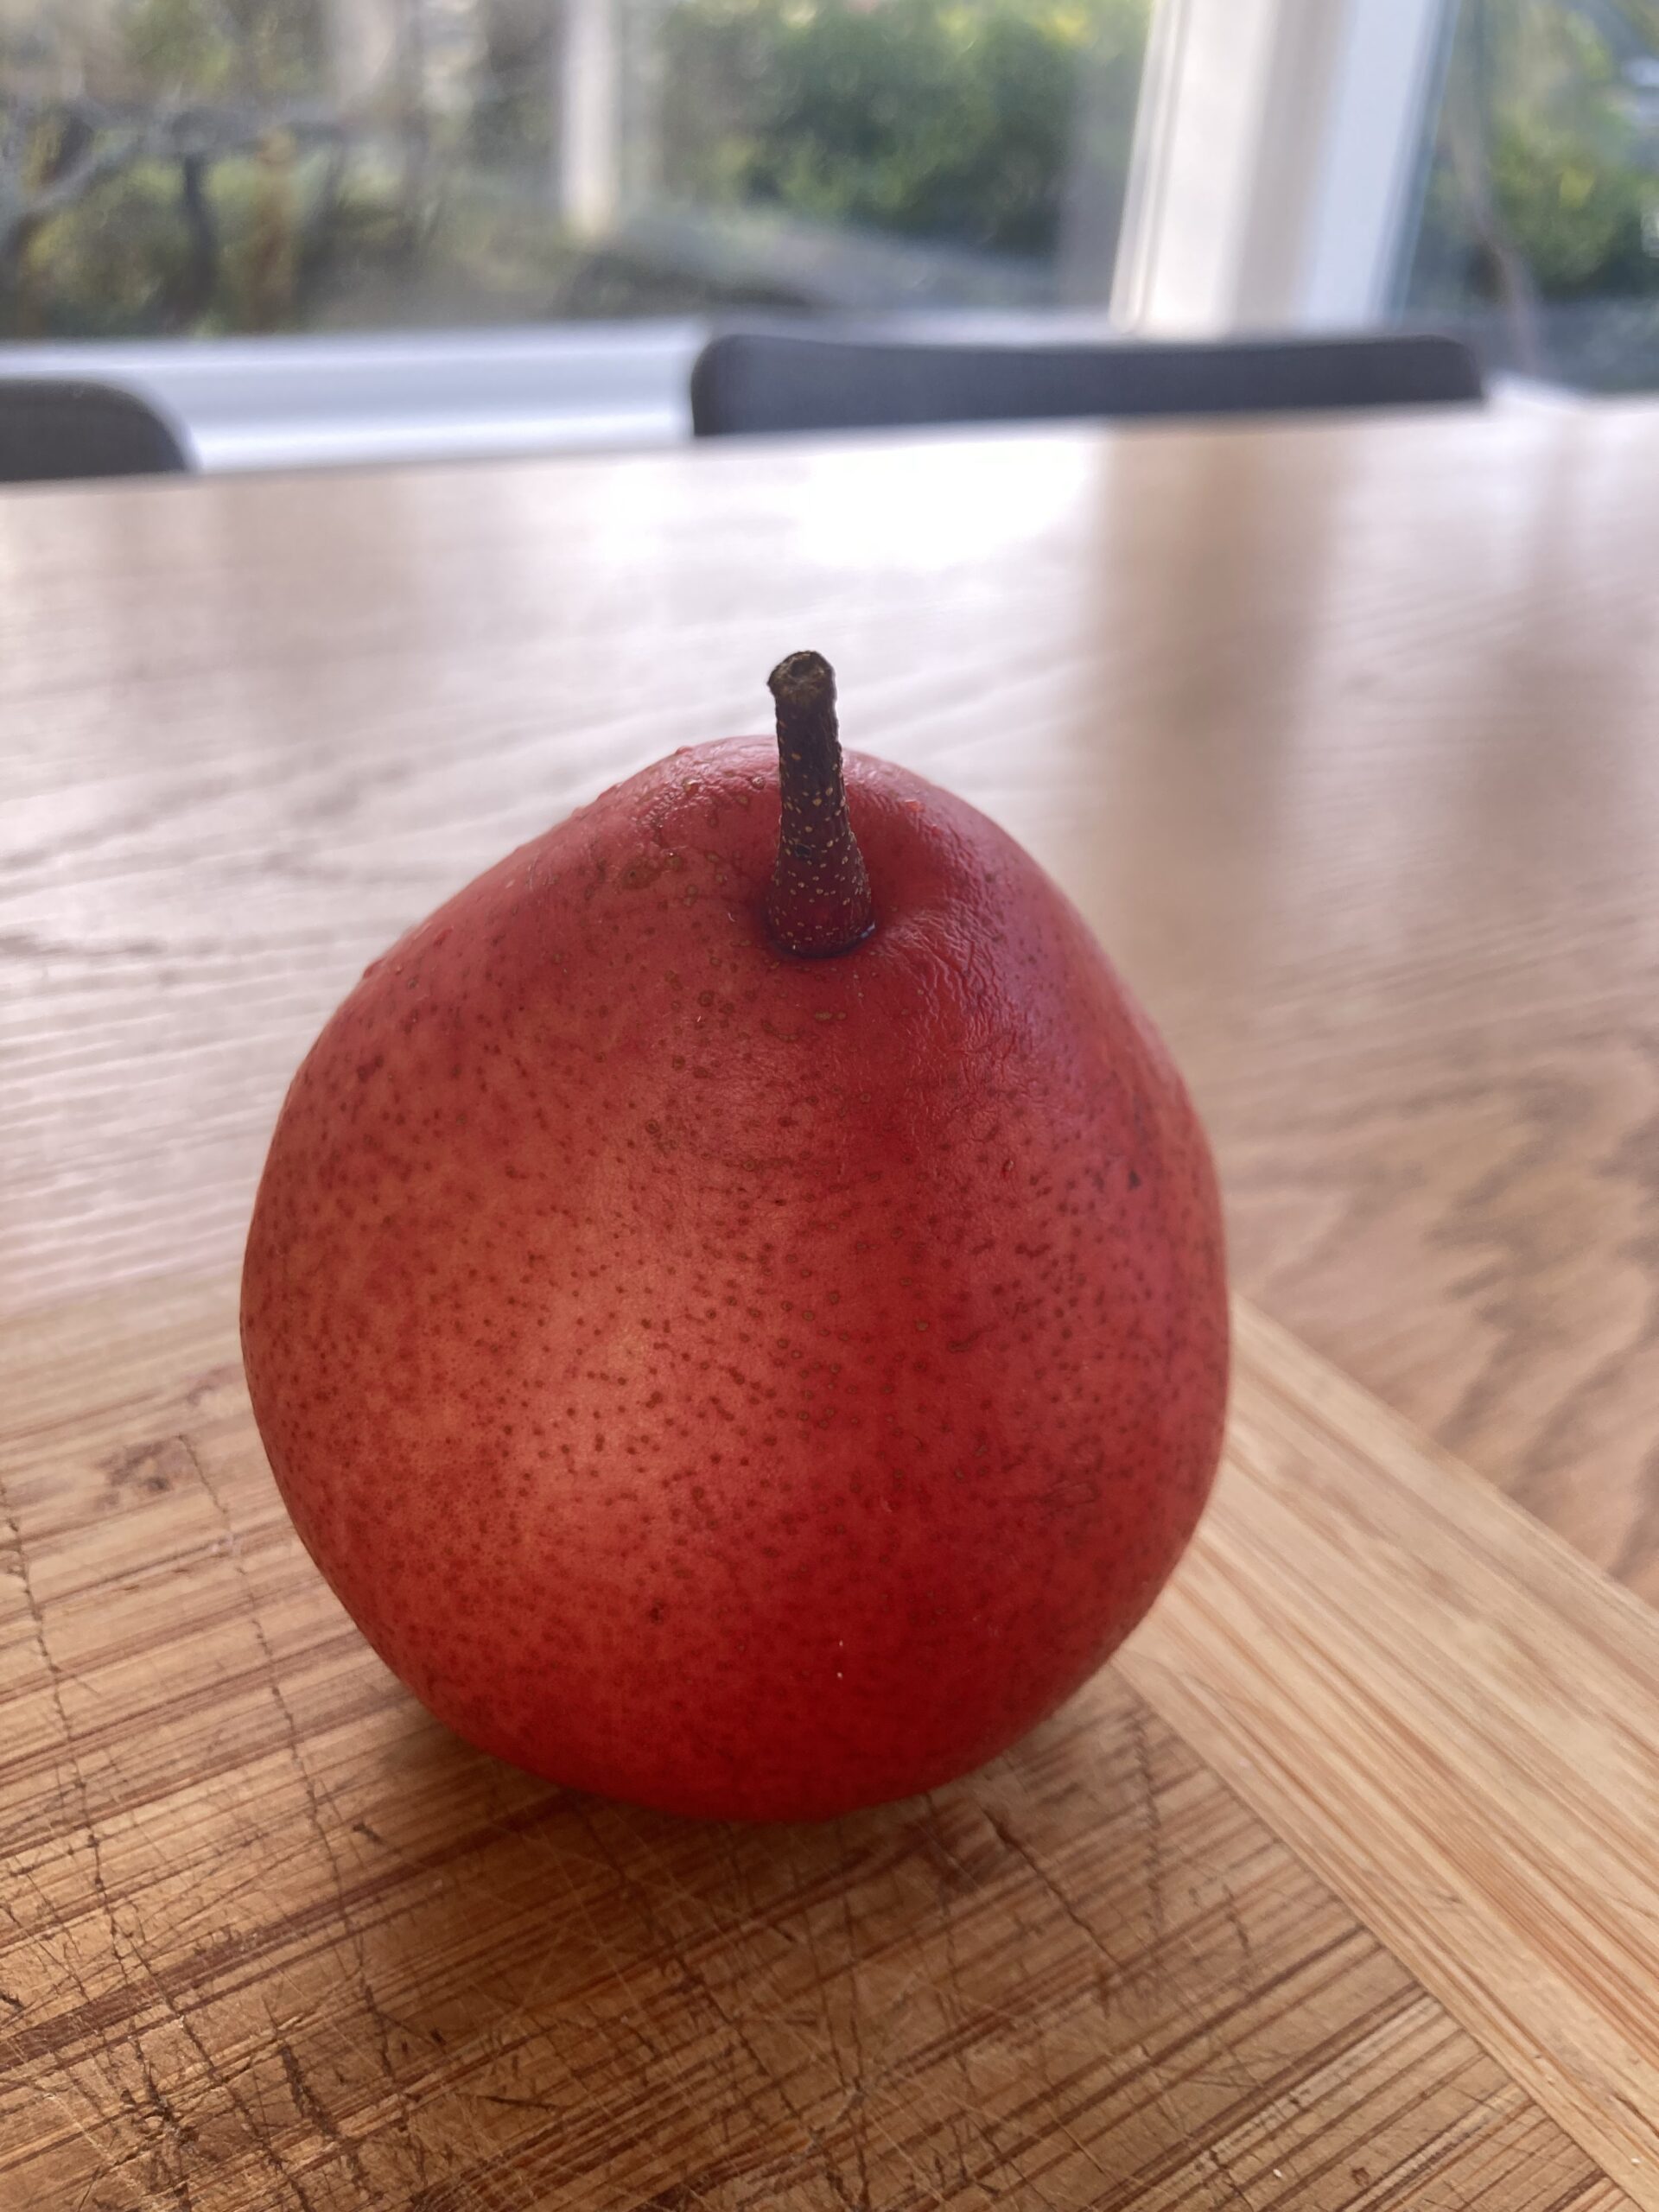
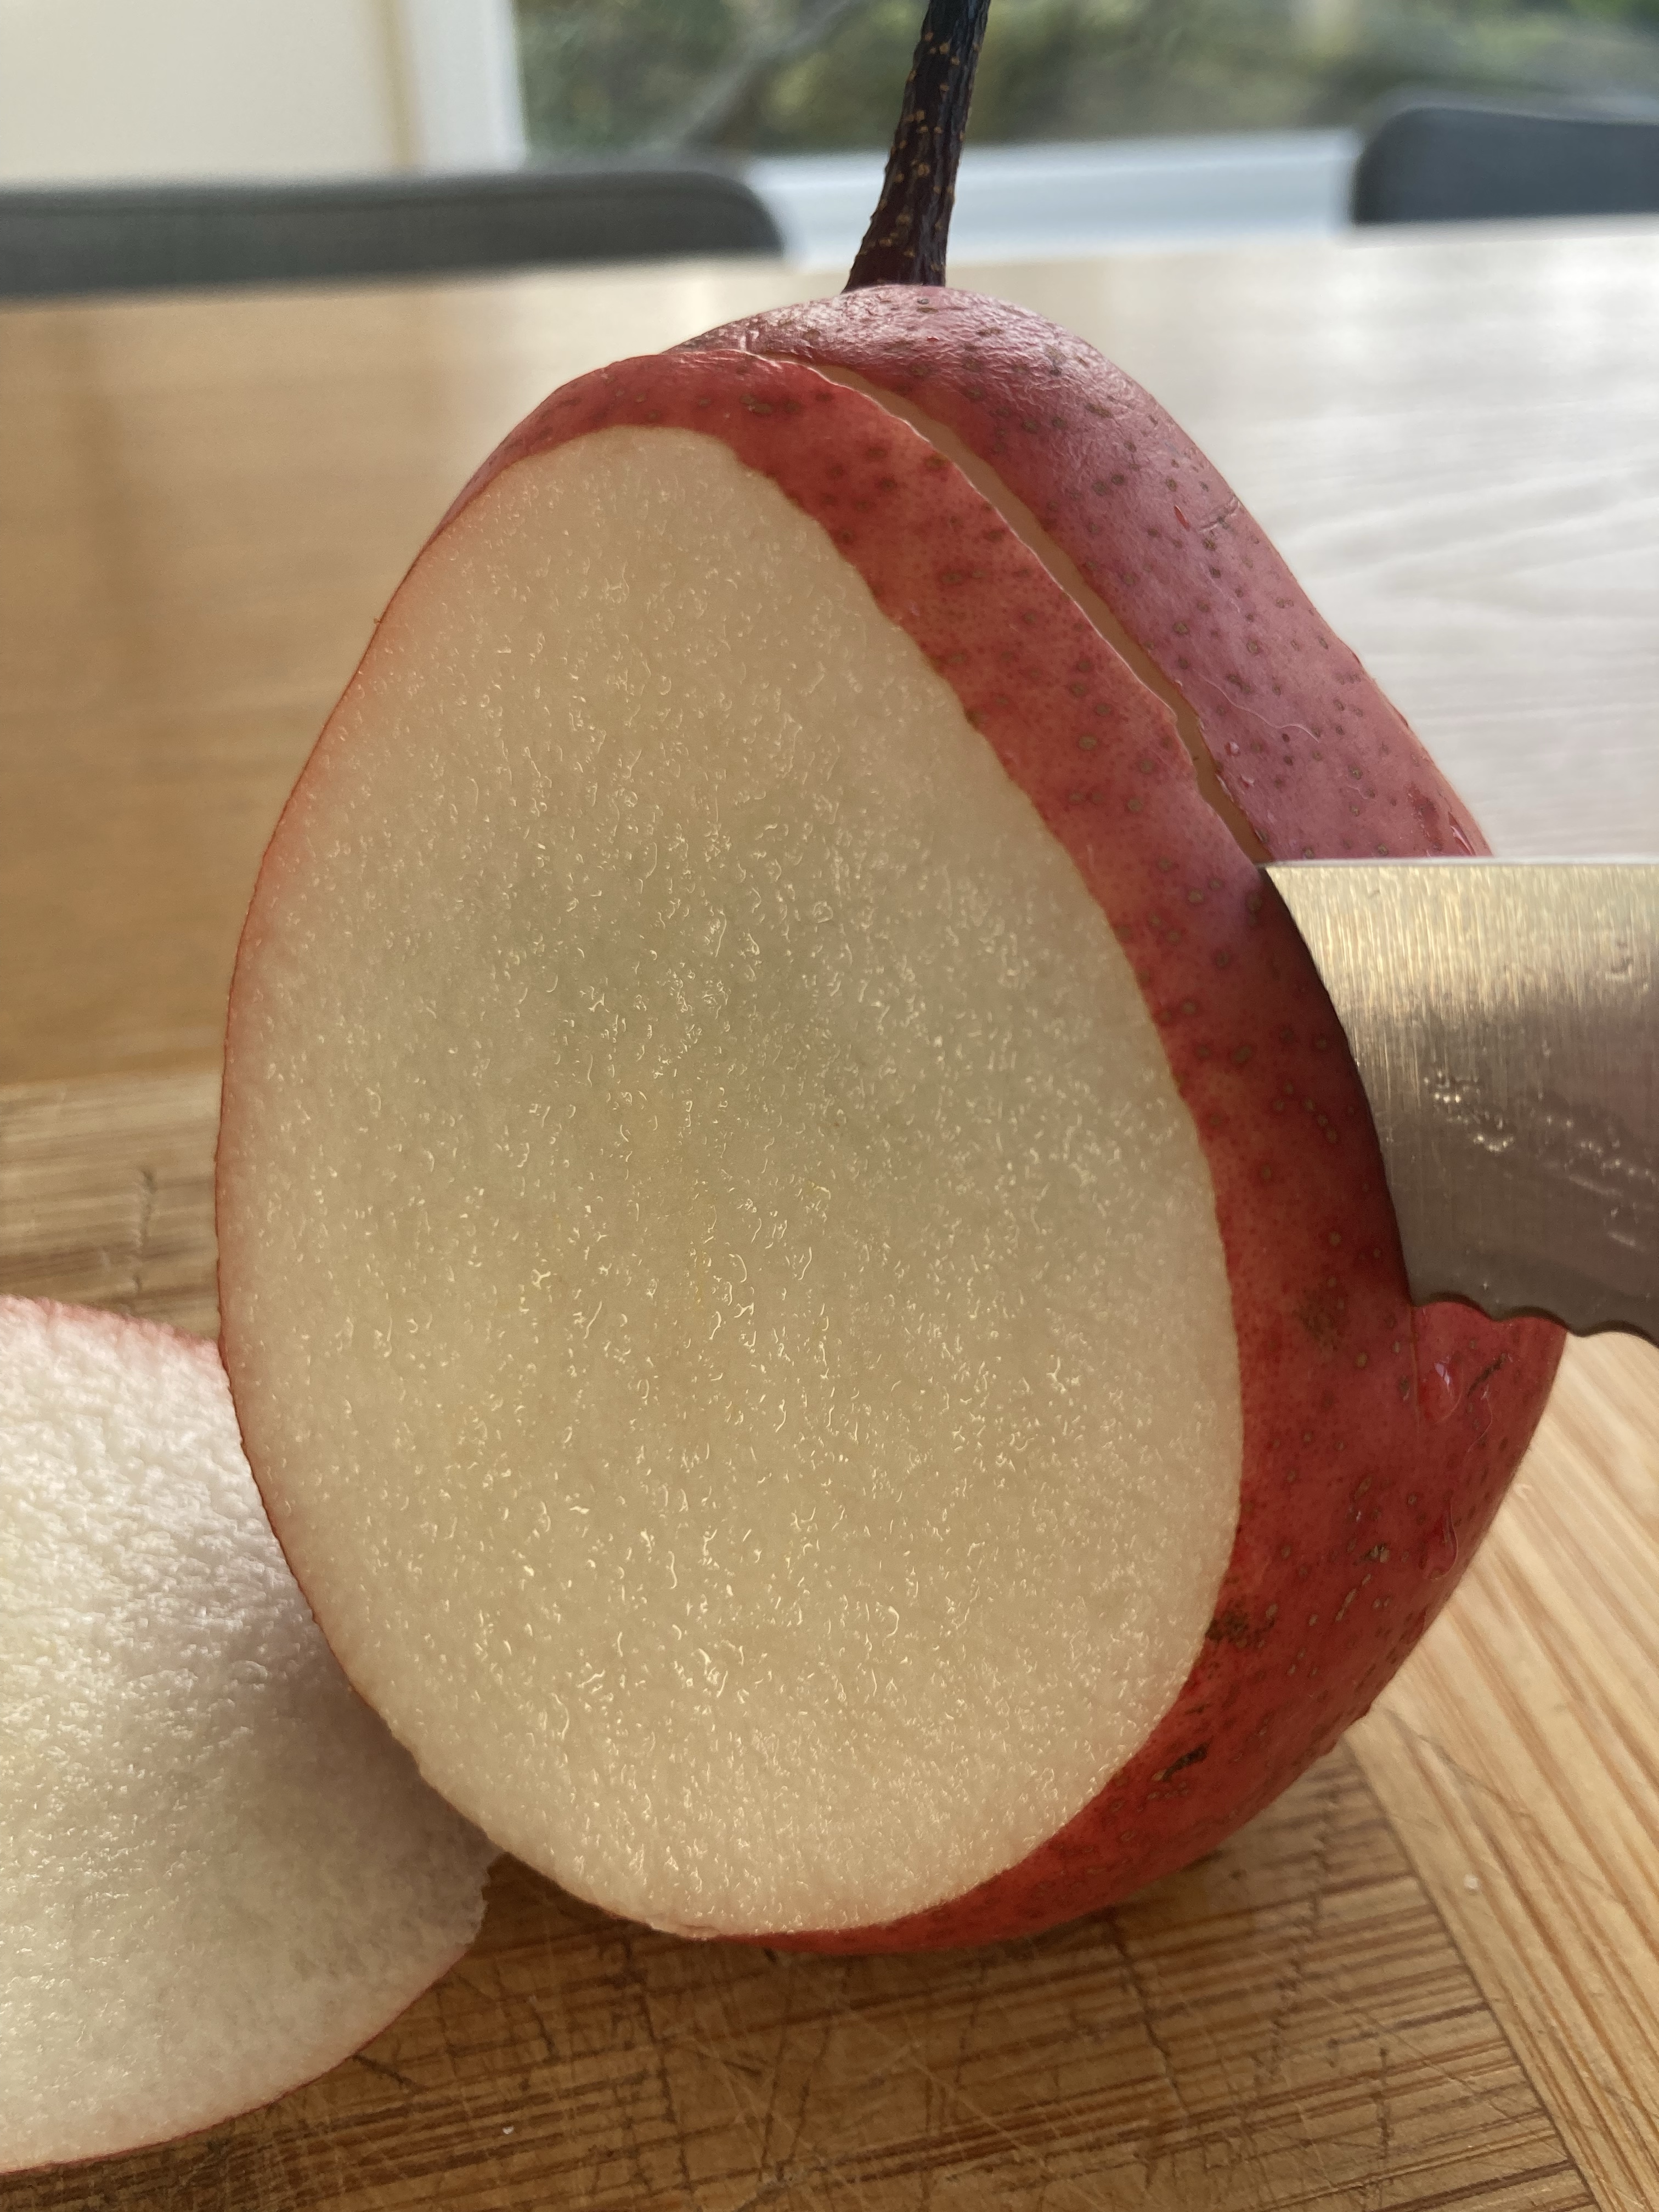
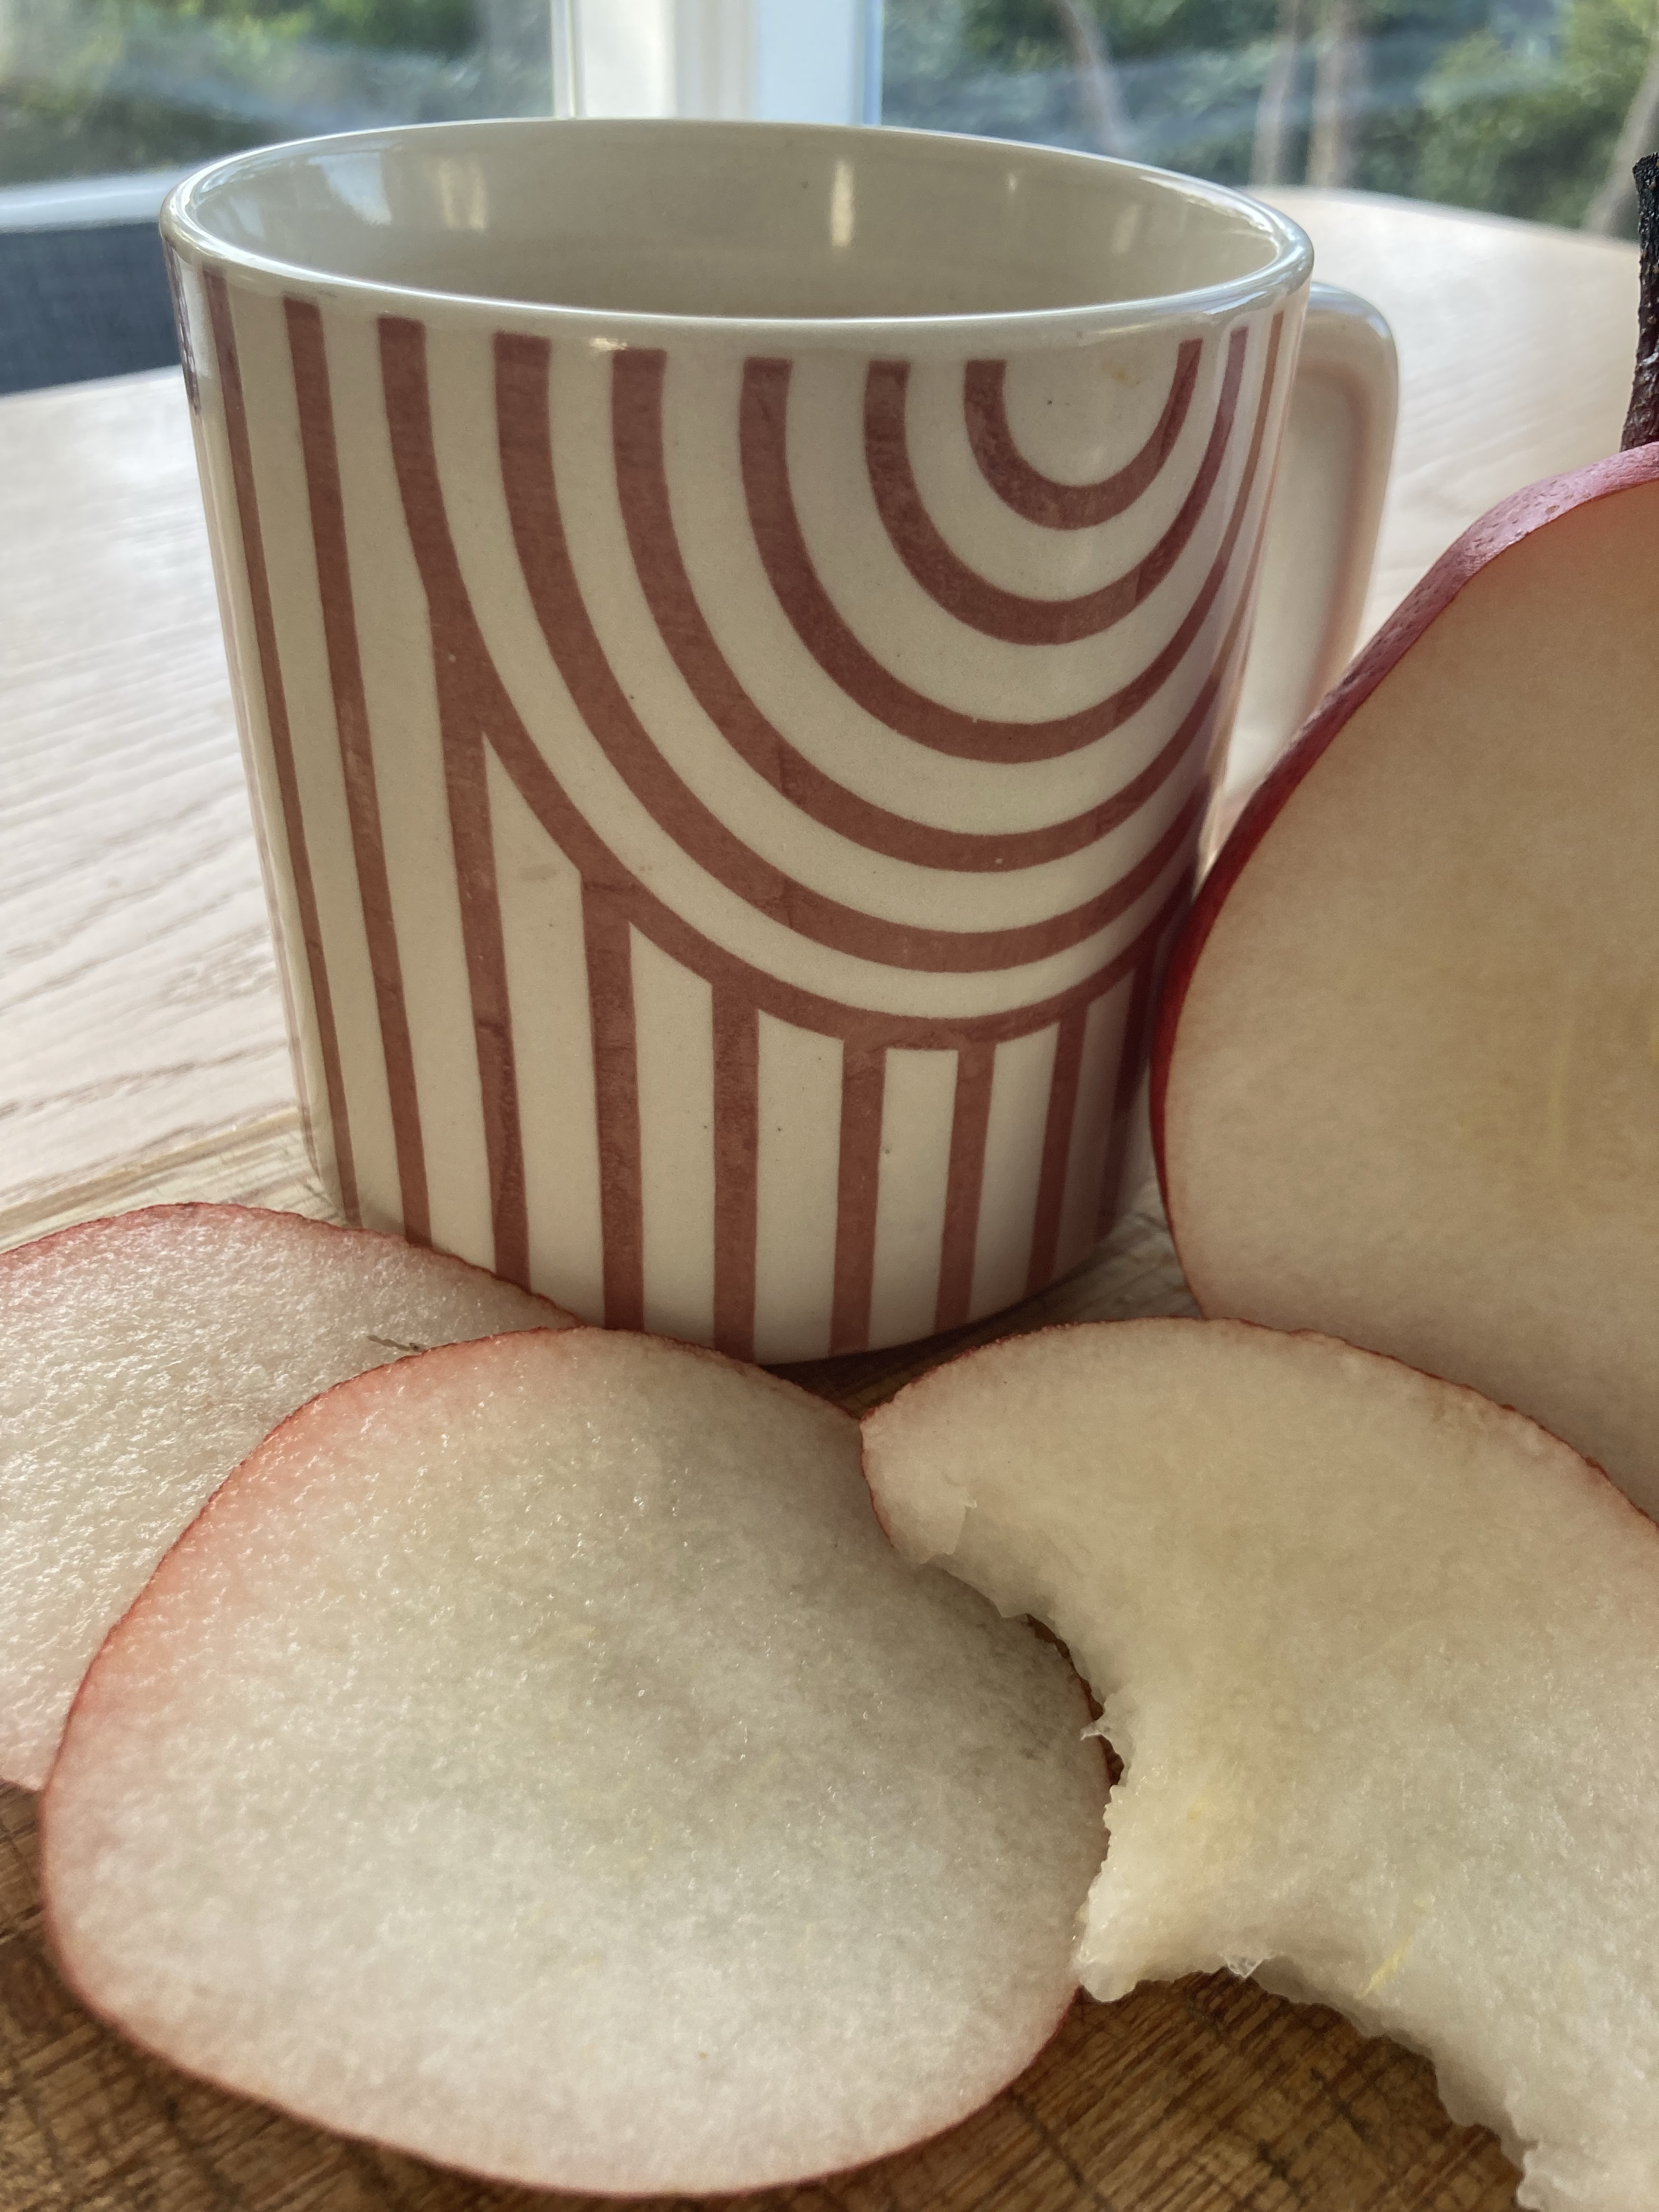
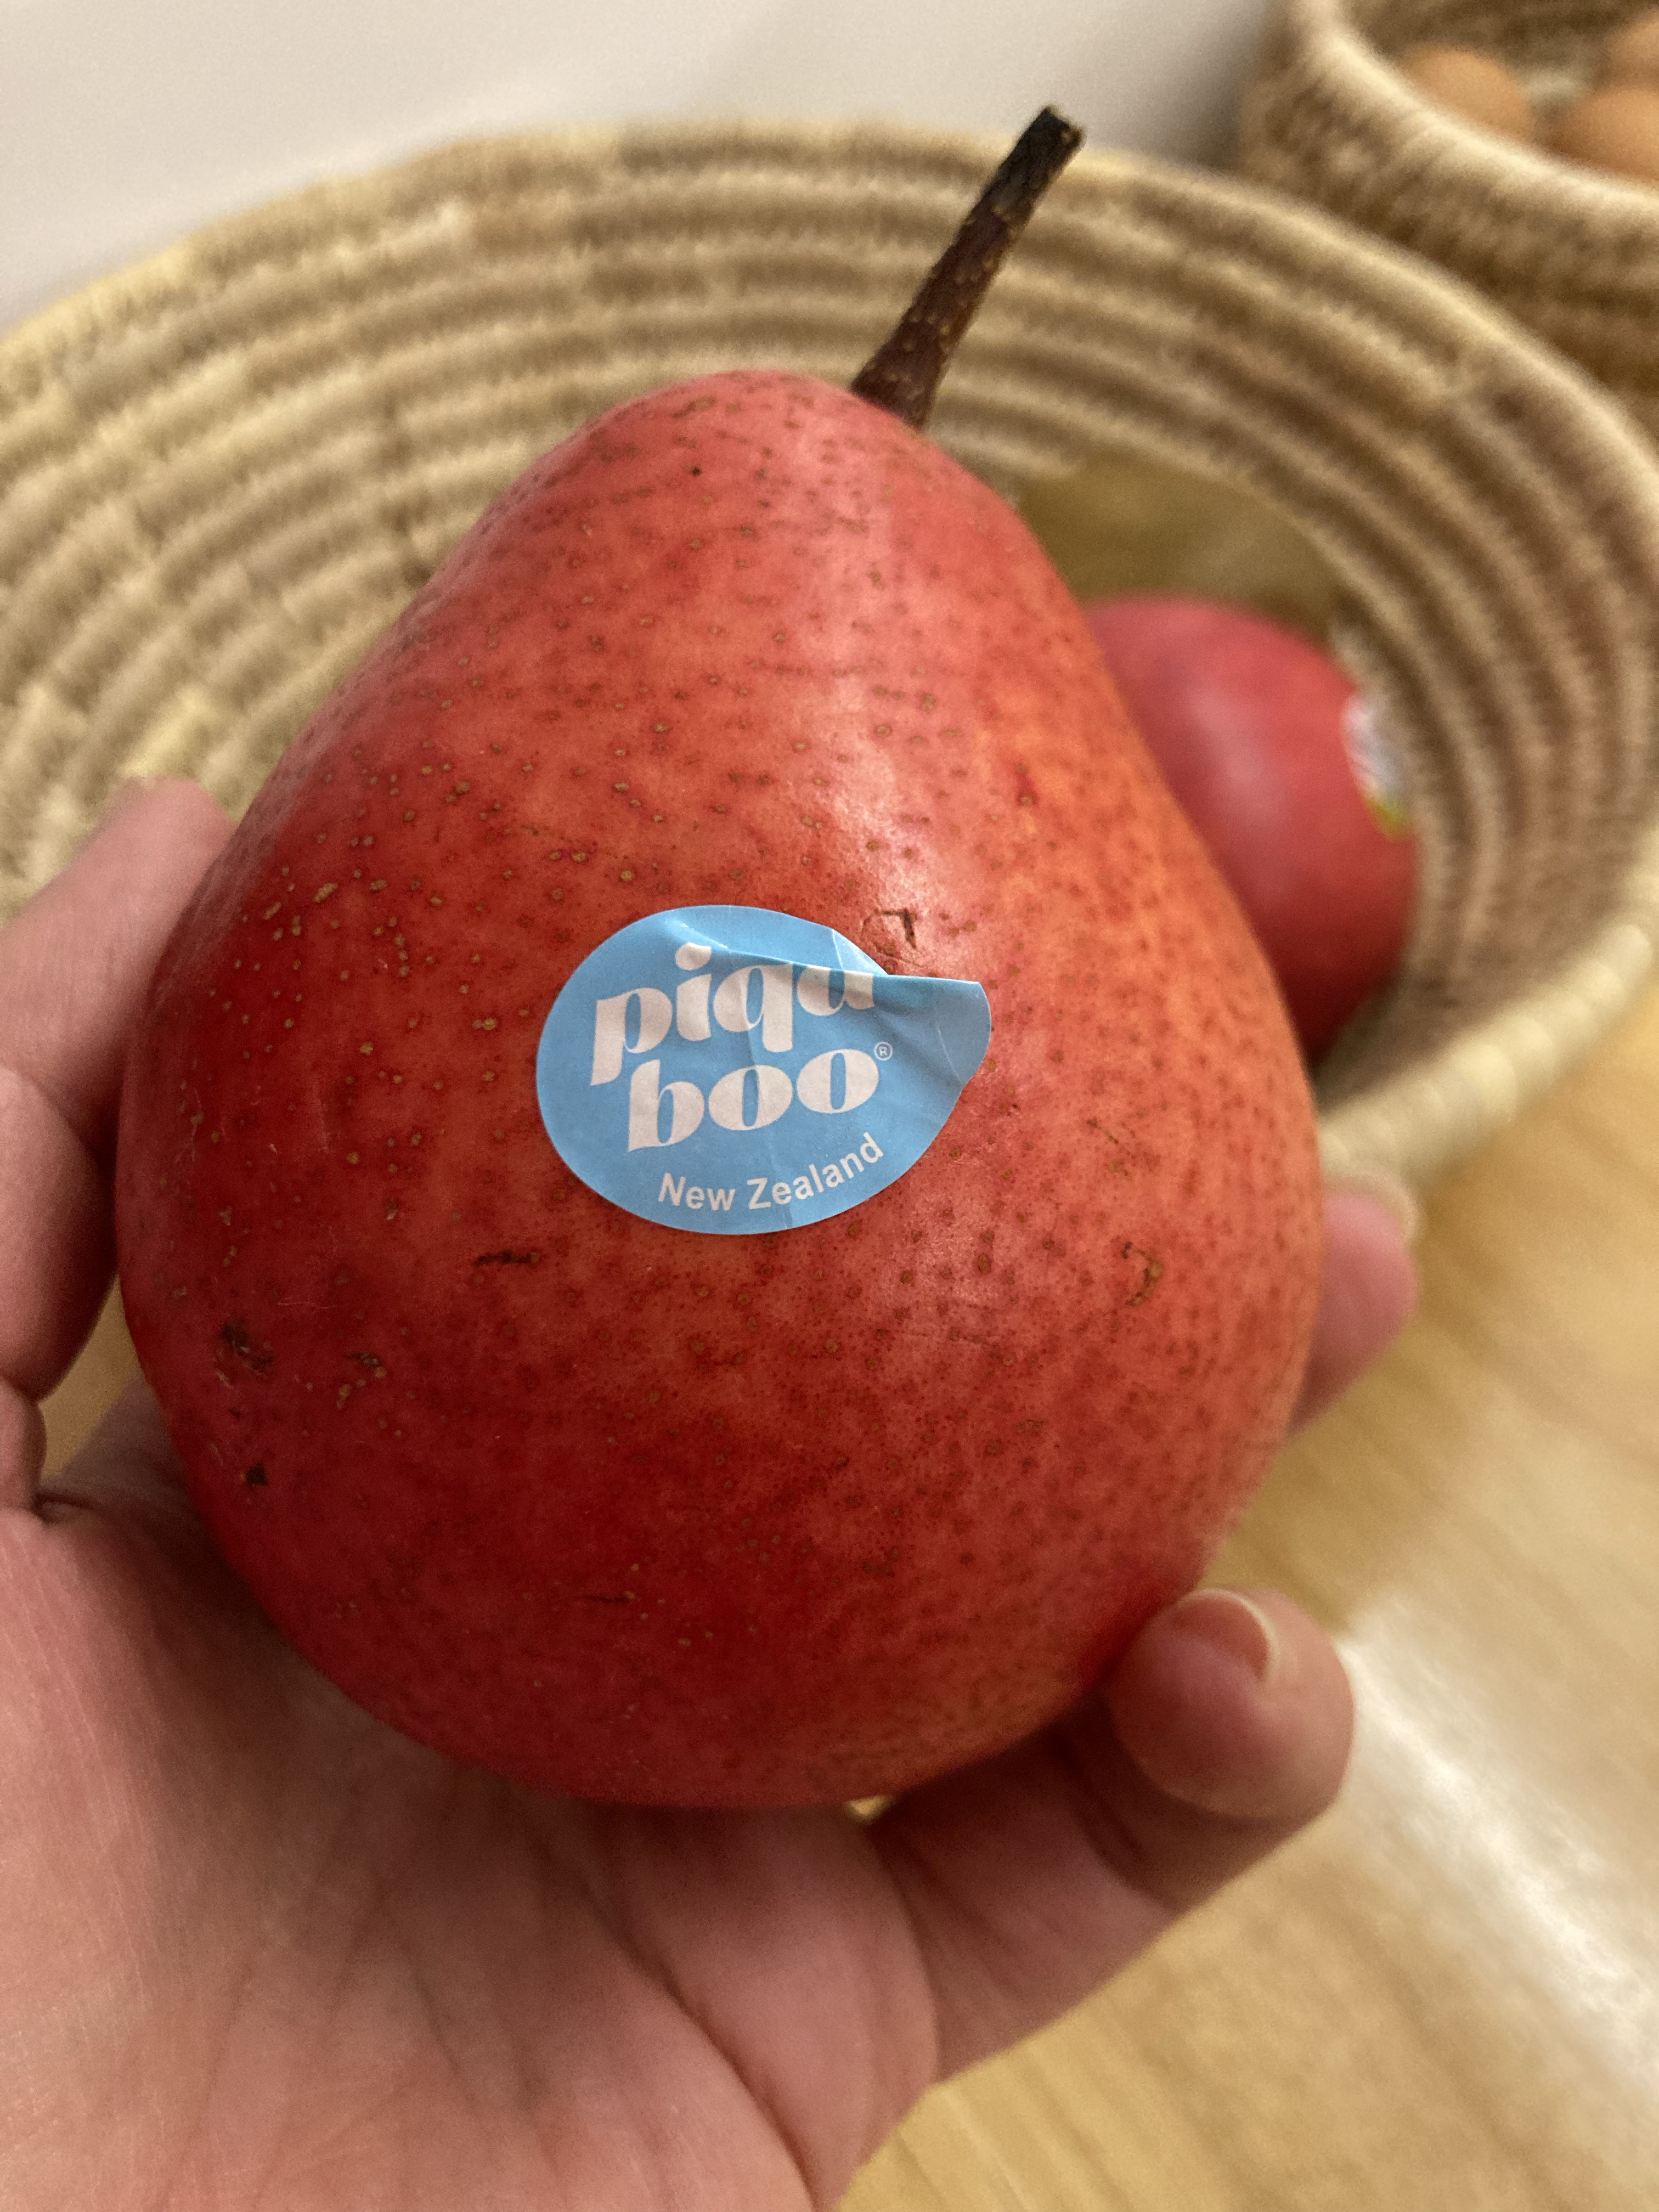
Oh my, when I spotted this beautiful red fruit at the shops I simply could not leave it there – such a gorgeous colour, and somehow I have never sampled one before.
This little beauty is a Piqa Boo pear – yes, I agree, what a cute name, particularly as it sounds like Pikachu. Piqa Boo pears were first cultivated in New Zealand in the 1980s – so I don’t know quite why it took me so long to eat one – and they are bred from European, Chinese and Japanese pear breeds. This pear was absolutely delicious – crisp, juicy and not unlike a Nashi pear in taste. Some googling on the topic leads me this recipe for sautéed Piqa Boo pear piled on top of baked brie – not something I have tried for this post, but my mouth waters at the mere thought and I forsee this in my future.
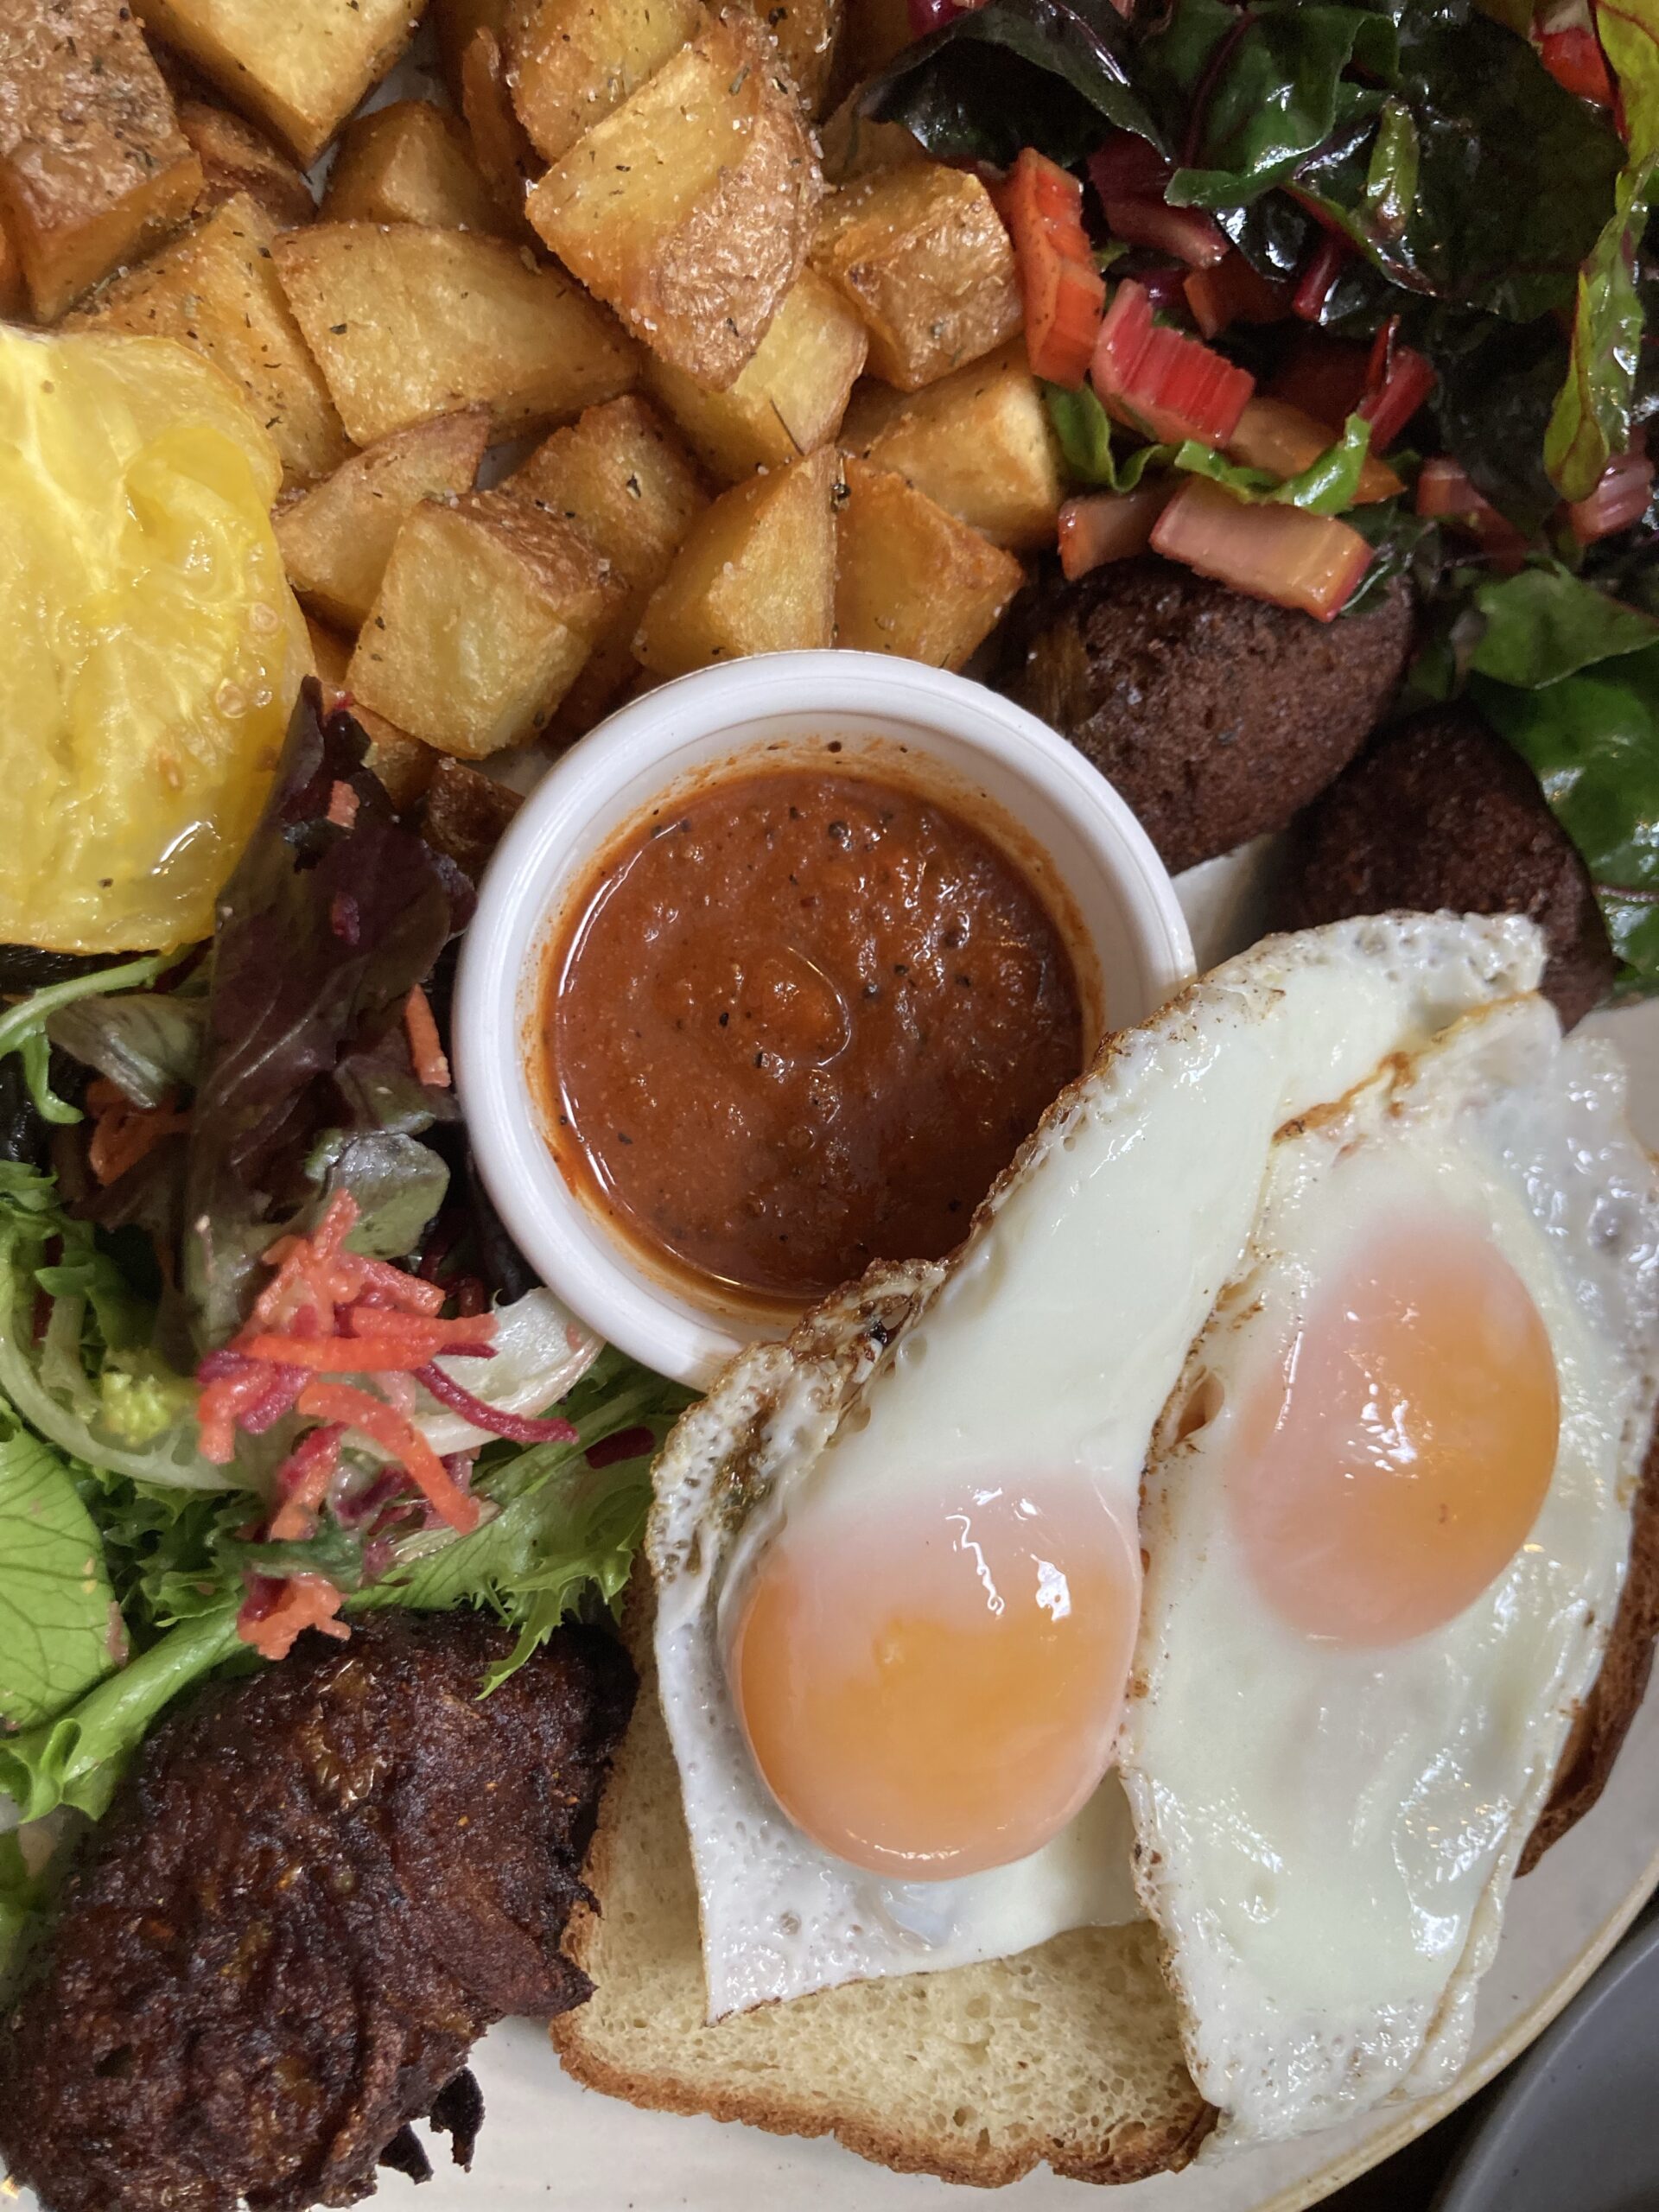
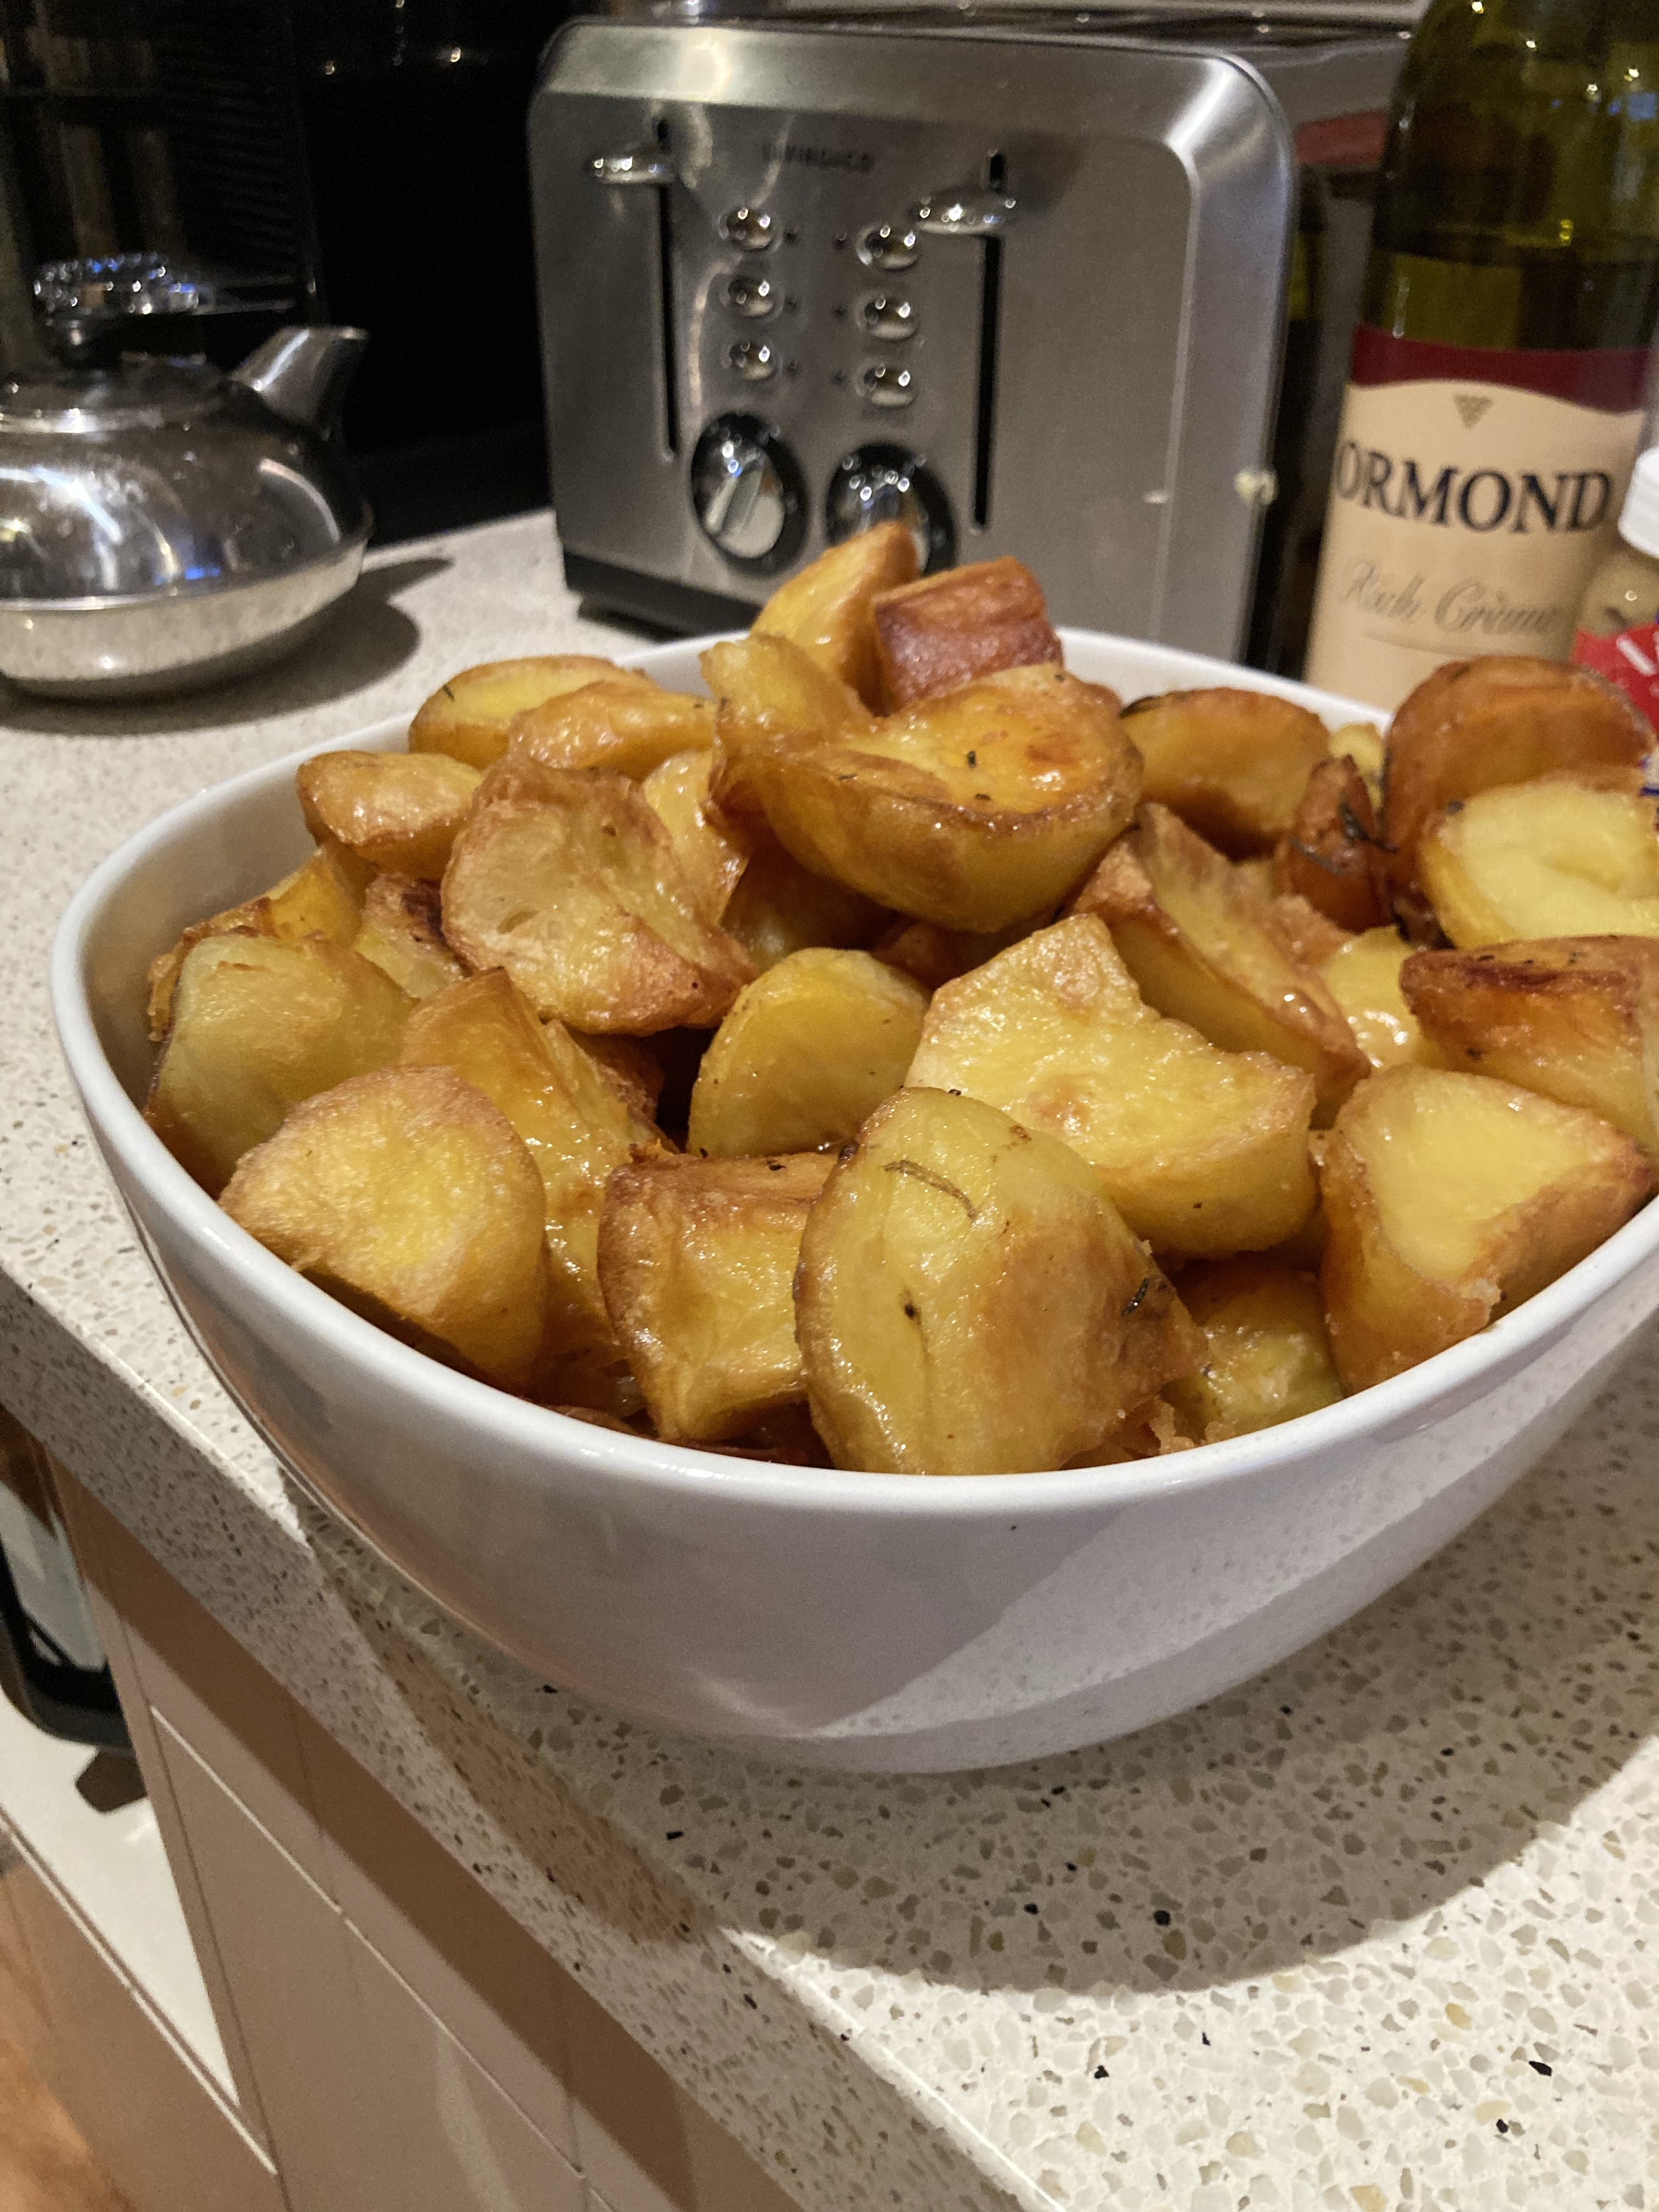
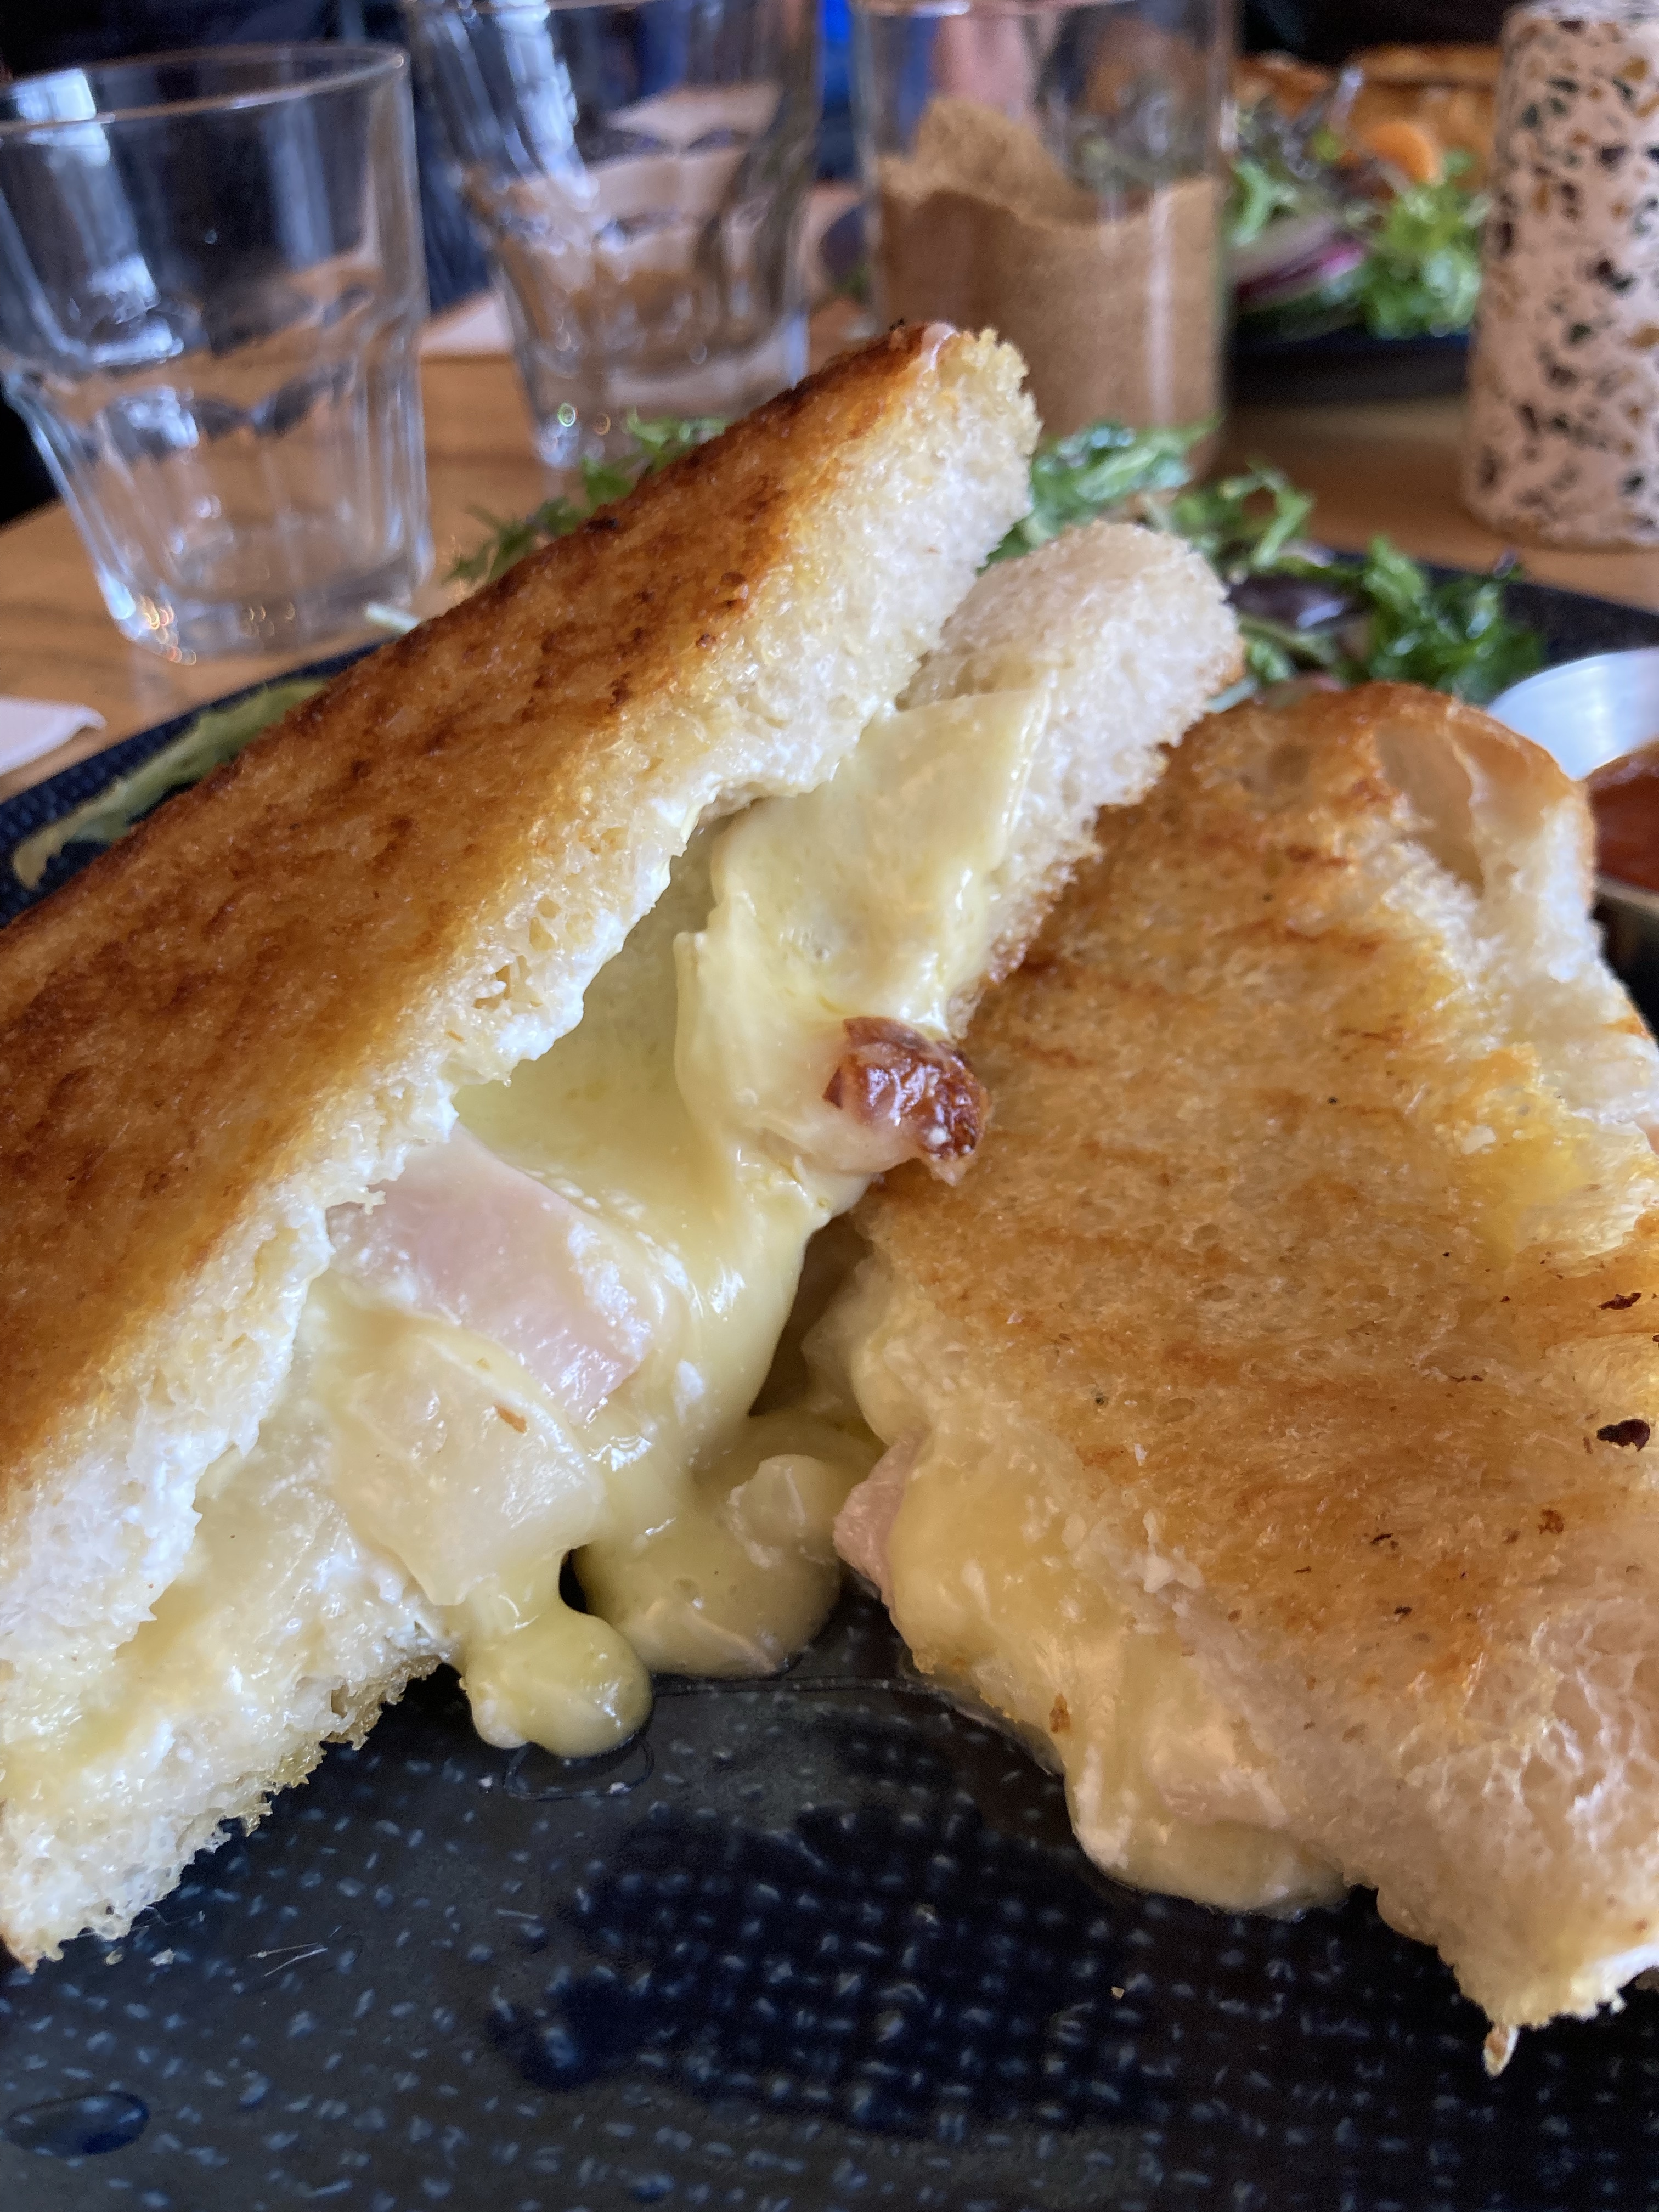
To balance out the healthful eating of red pears, I have had some hearty wintery delights recently as well, including a helping of these duck fat roasted potatoes, and this very cheesy and delicious toastie at the beautiful Dough café. It has reached that point of Winter where it feels like it is never going to end and everyone has some kind of virus, so bright fruits and stodgy meals are helping me along. I hope this finds you all well – keep warm and healthy x
Ingredients Method About I had such a great weekend visiting Whanganui a couple of weeks ago. The highlight was of course seeing our dear friends who have made their home there. One of the many bonuses of staying with them was discovering the Feijoabulous recipe …